We can all agree that Photoshop is a fantastic tool for editing and changing images. Photoshop may also be a pain, especially when discussing cropping here, for those who haven’t yet spent their nights yelling at their monitors in disgust.
Imagine you’re working on a design with a hundred effects and layers active when you suddenly remember you need to slightly crop something on a layer. Right, so the natural instinct would be to choose that layer and select the crop tool. Well, that is wholly incorrect.
To crop an image, use the crop tool. Here is a method for cropping a single layer in Photoshop while working on numerous layers.
Cropping in a Different Document
Are there any more effective ways in Photoshop to crop a single layer? Sure. If you have used Adobe products for a long time, then you can testify that there were no sophisticated Smart Object Tools and Layer Masks like there are today. So people had to come up with our own solutions.
But this approach is by no means out of date.
A full-resolution backup of your working layer in a separate file that doesn’t inadvertently be destroyed 37 revisions later is just one of the many advantages of employing this strategy.
Let’s get to the details right now.
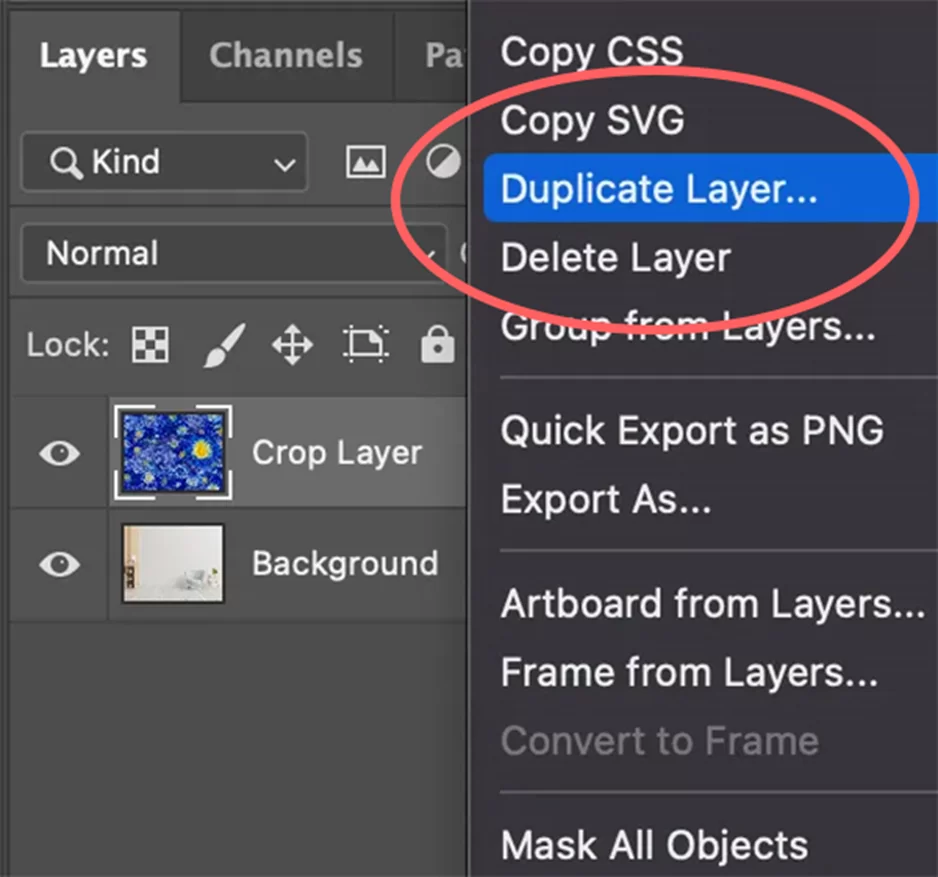
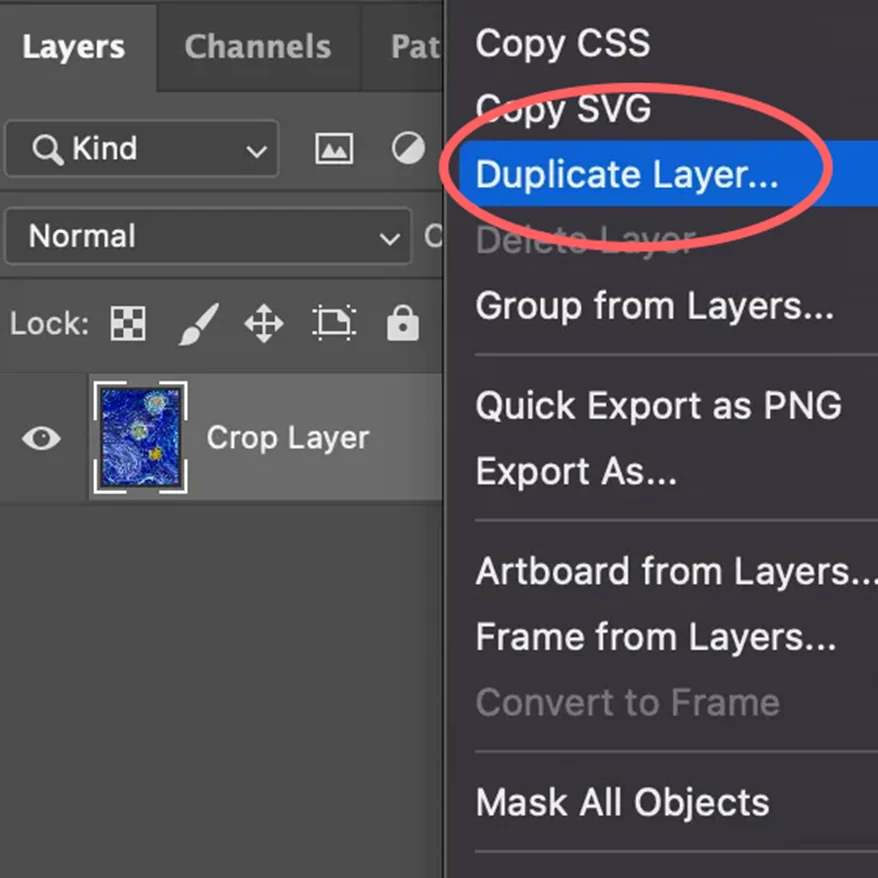
Right-click the layer you want to crop in the Layers Panel and select Duplicate Layer.
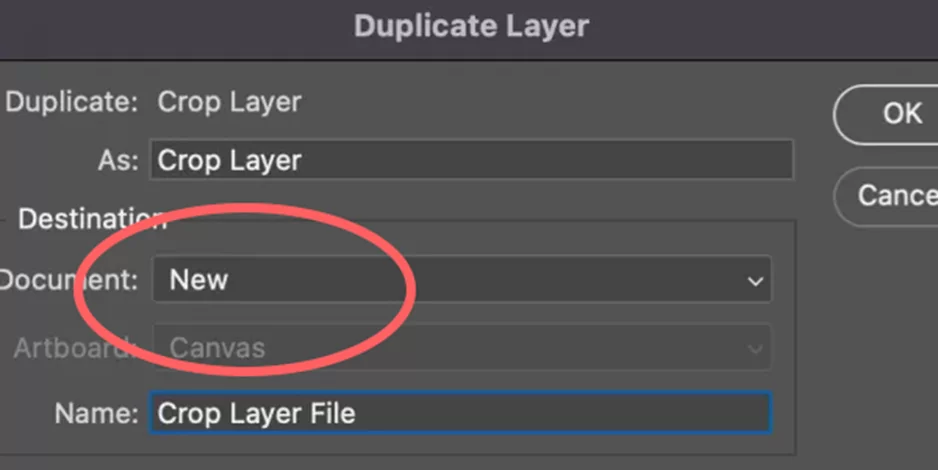
When prompted, give the new layer a name, then click New under Destination > Document.
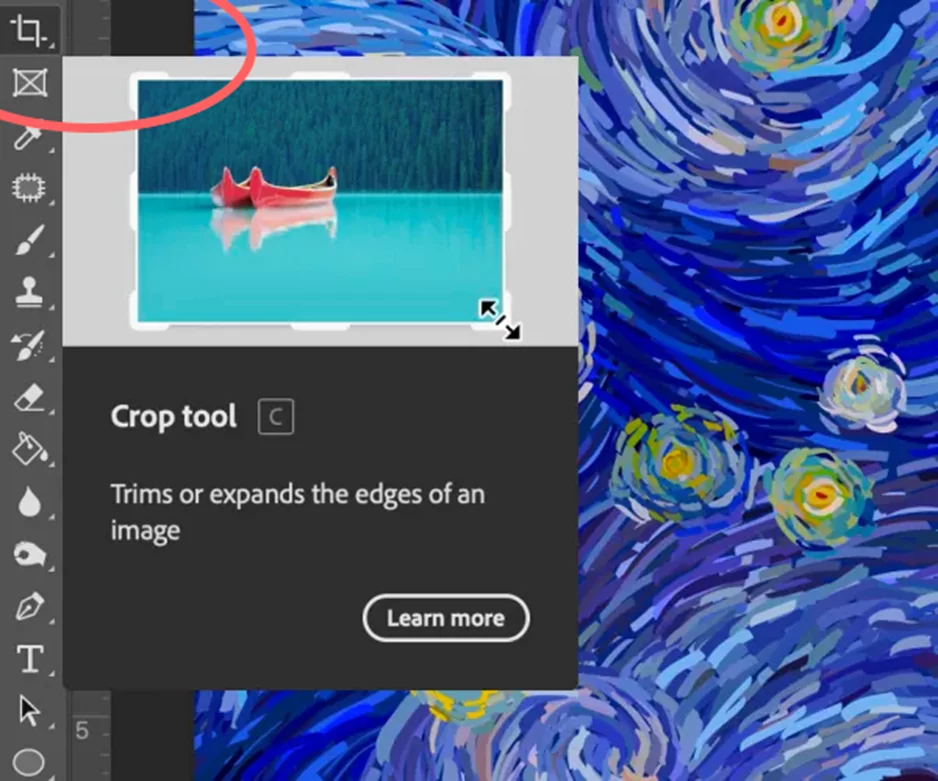
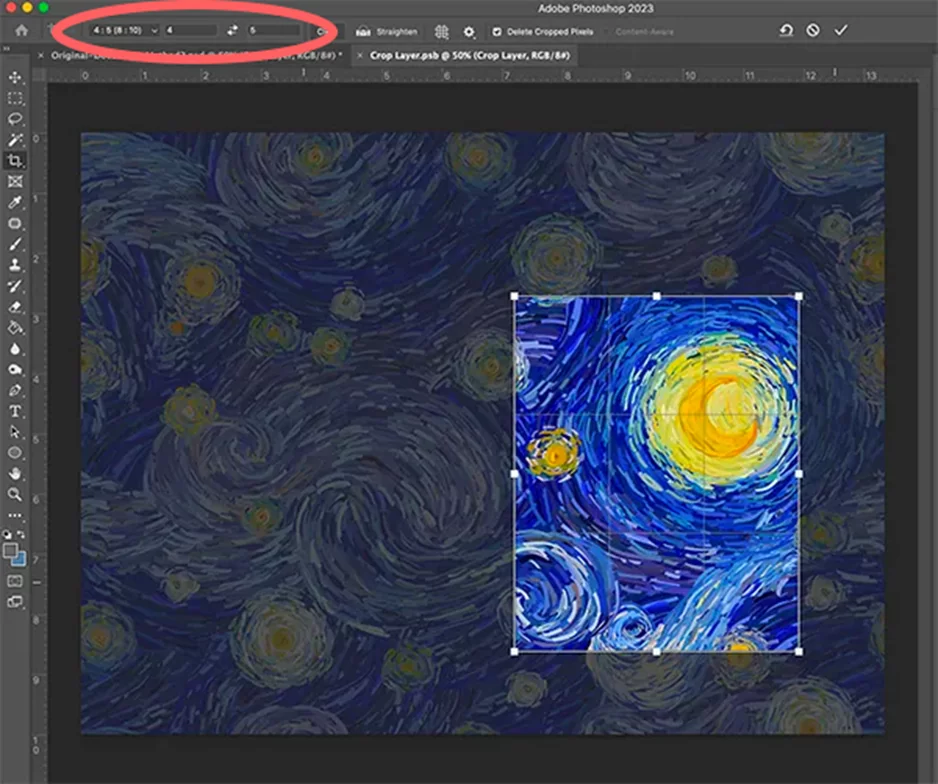
Choose the Photoshop Crop Tool from the toolbar and enter the desired ratio or measurements in your new project.
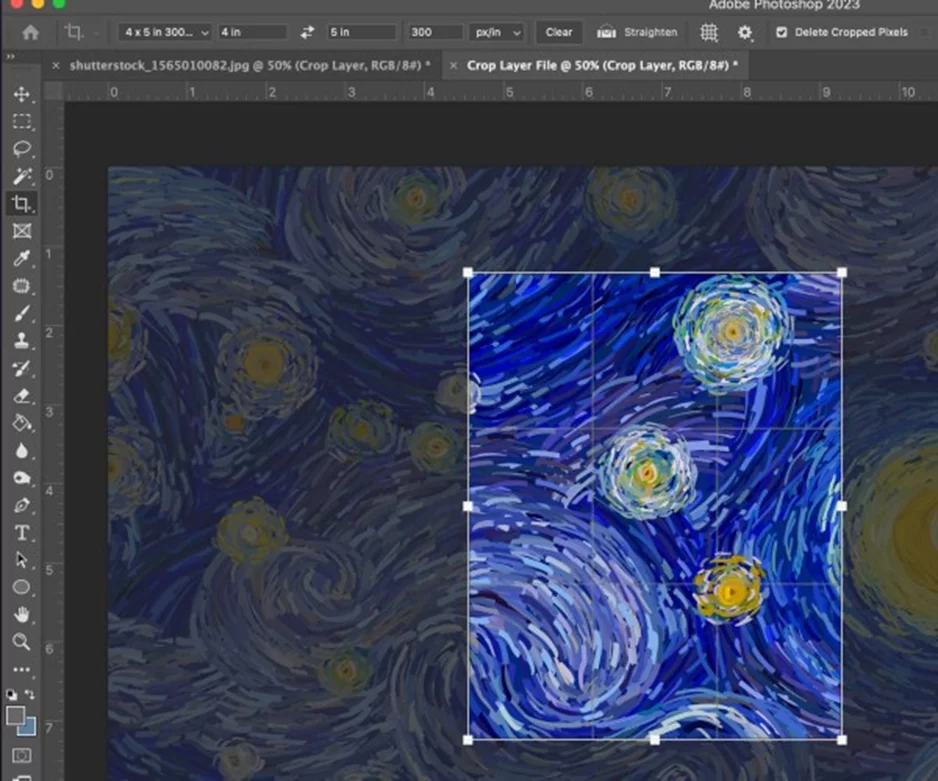
Press Enter when you click, drag, and adjust the crop box to your desire.
Return to your new document’s layers panel, right-click the newly cropped layer, and select Duplicate Layer.
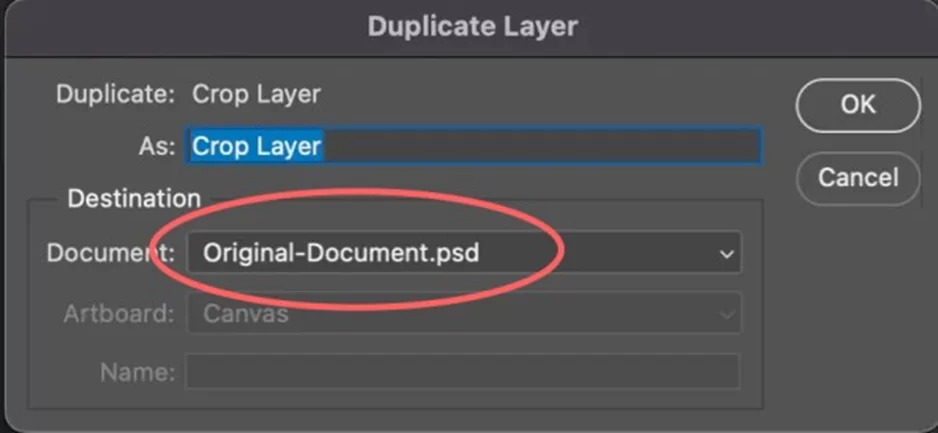
Choose your original file under Destination > Document. The newly cropped image will be visible on a new layer when you go back to your original document.

Using The Smart Object Tool to Crop a Single Layer
The procedure is going to be identical to the prior one, but this time we’re going to use a Smart Object instead of a second document, which will save us a few extra clicks throughout the course of the process.
These are the steps:
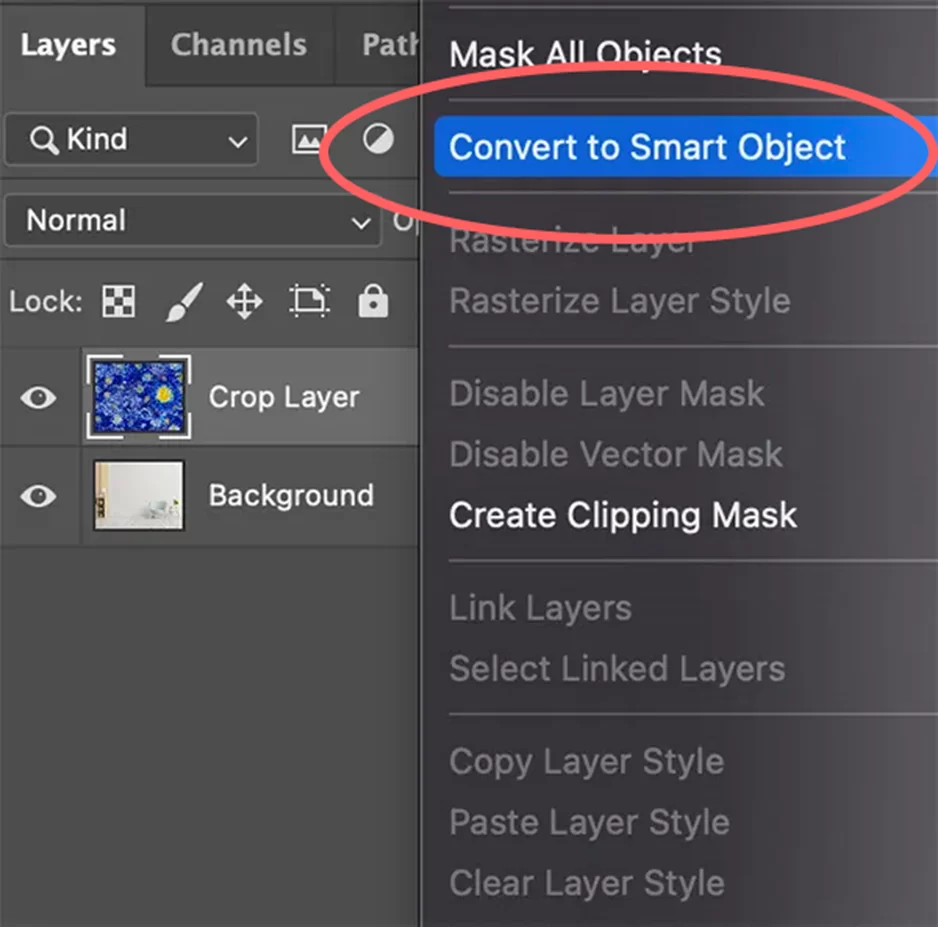
Right-click the layer you want to crop in the Layers Panel and choose Convert to Smart Object.
Double-click the thumbnail of the new smart layer after that. It will create a brand-new .psb (Photoshop Big) document on its own.
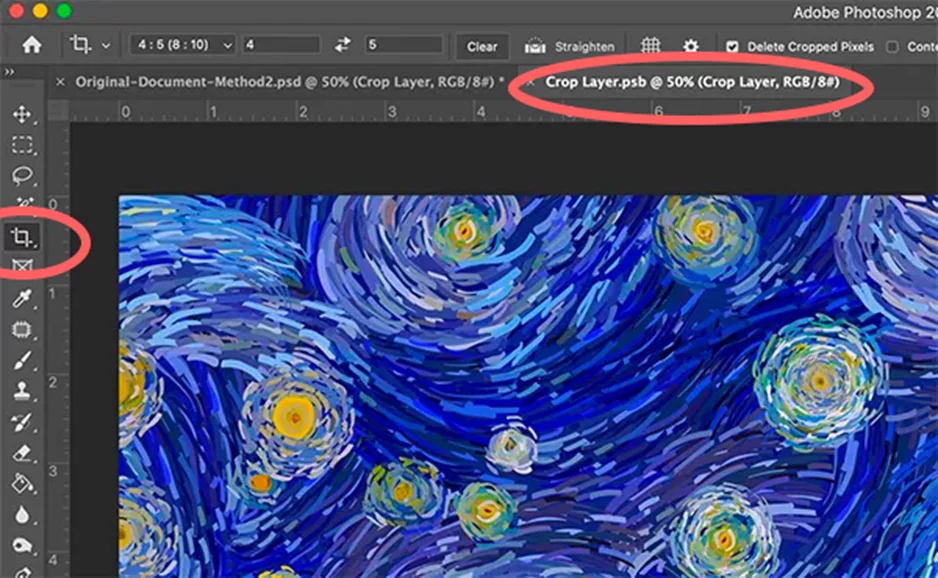
Choose the Crop Tool from the toolbar and enter the size or aspect ratio that you want.
If necessary, hold down the Shift key to retain the aspect ratio when you click, drag, and resize the crop box.
To save your .psb file, hit Enter.
The newly cropped image will be visible on a new layer when you go back to your original document. At any point, you may edit this crop by double-clicking the smart layer and making the necessary adjustments.

Crop Using Layer Masks
This technique is more appropriate for masking than cropping. However, a lot of people tend to confuse the terms “crop” and “mask,” therefore it would be appropriate to add the instructions in this article just to be safe.
You might be wondering what makes a crop different from a mask.
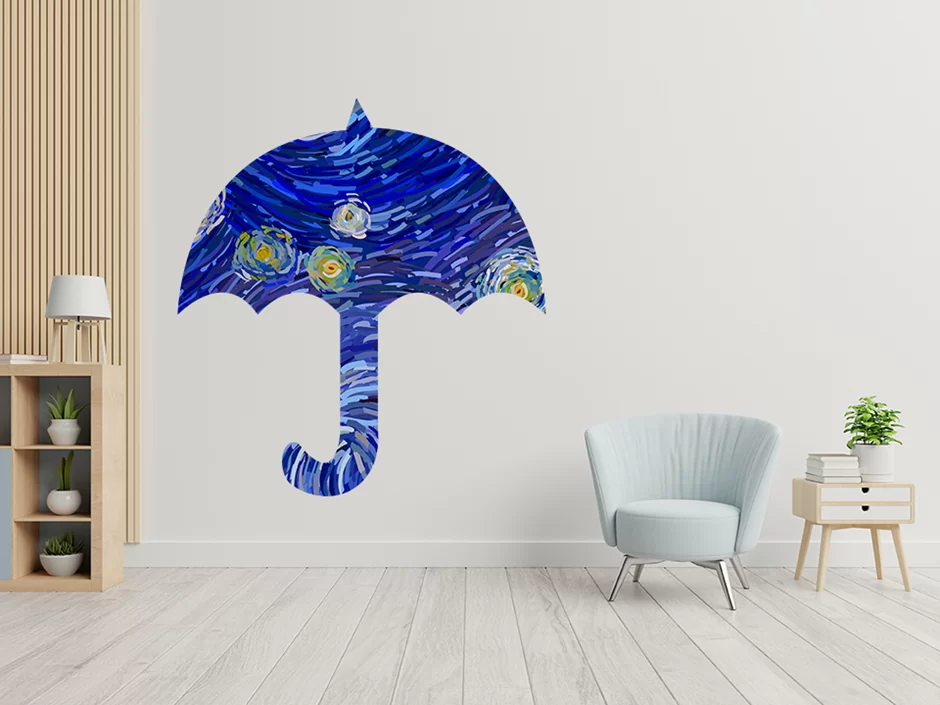
Similar to how scissors cut paper, a crop permanently deletes the pixels outside of the cropped area. A mask functions more like a frame for pictures. By using a mask, you just conceal specific areas of the layer rather than cutting the image.
How to create a layer mask is shown below.
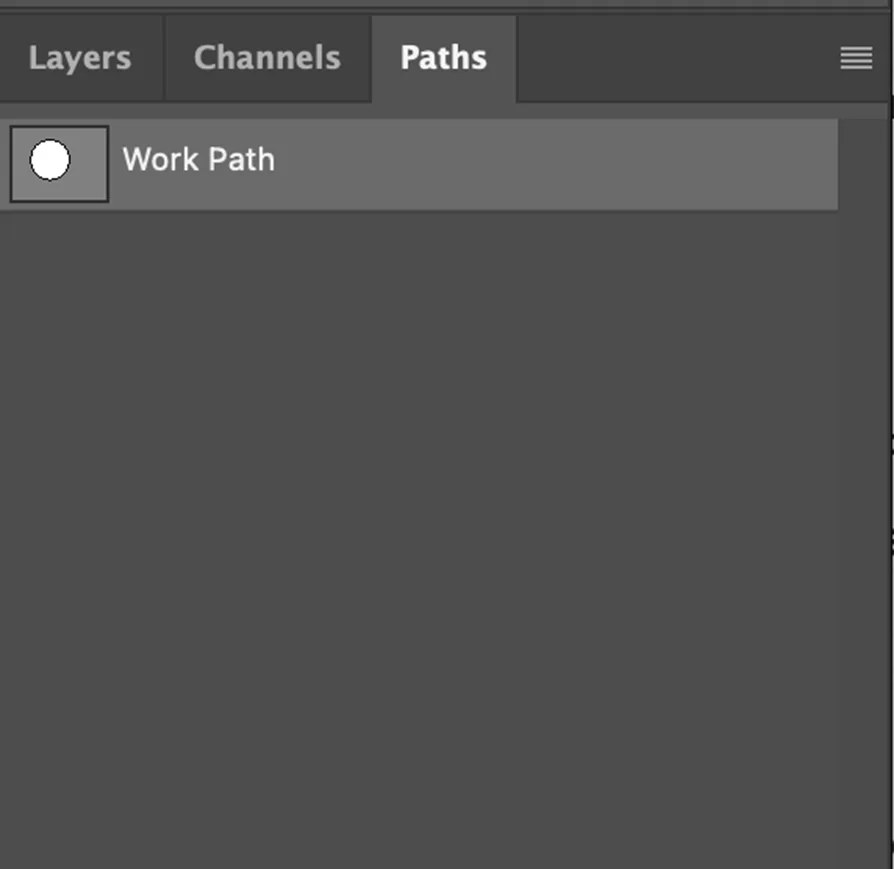
If it isn’t already open, click Window > Paths to do so.
Use the Pen Tool, Custom Shape Tool, or Shape Tool to draw a route. (Ensure that Path is chosen in the dropdown menu.)
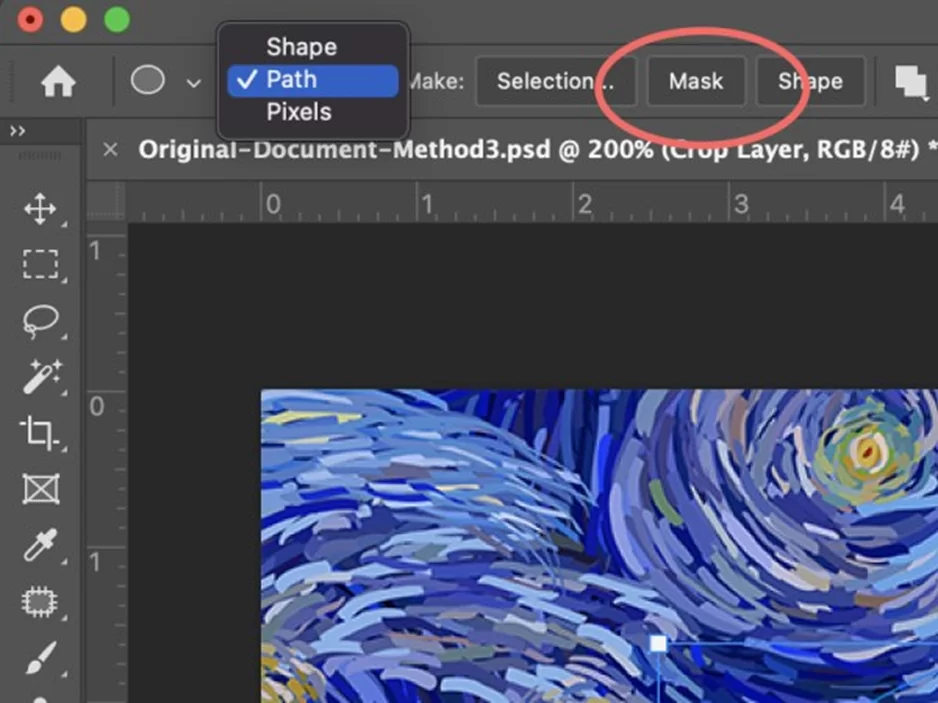
Click Mask.
By clicking on the new mask in the layers panel and moving it about or by adding, removing, or combining paths, you may also modify this new mask to your desire.
Pro-tip: Raster components like Brush Strokes, The Rectangular Marquee Tool, The Lasso Tool, and Gradients can also be used to create layer masks.
Using a Clipping Mask
This approach achieves the same outcome as the previous one. You’ll use two layers instead of masking the image within the same layer.
Follow these steps to make a clipping mask:

In the Layers Panel, add a new layer beneath the layer you want to mask.
Use the Pen Tool, Custom Shape Tool, or the Shape Tool to draw a shape.

Hold down the Option Key on a Mac (or the Alt Key on a PC) and move your mouse between the new Shape Layer and the Layer you want to mask until your cursor changes to an icon with an arrow and a square (view the screenshot above).
To make the mask, click on the area between the two layers.
Again, you can move, combine, subtract, and add forms to this mask to make it more pleasing to you.
Final Thoughts
When photographing interior real estate, it’s possible that even with appropriate framing techniques, you’ll nonetheless take unneeded details. By removing the extraneous features, learning how to crop a layer in Photoshop highlights the primary subject. Tools like marquee, custom shapes, crop tools, and pen tools can all be used for cropping.