Are you feeling overwhelmed by the sheer number of photos you have taken recently? Do you need help organizing and sorting through your digital photo library? Look no further! In this blog, we will guide you through the simple steps to create a contact sheet in Photoshop, giving your workflow a much-needed boost. With detailed instructions and helpful visuals, even novice users can easily make professional-looking contact sheets with ease. So, grab your mouse, and let’s get started!
Creating The Contact Sheet
A contact sheet is a great way to quickly view and organize multiple images in one place. In Photoshop, you can create a contact sheet by using the built-in Contact Sheet II script. Here’s how to do it:
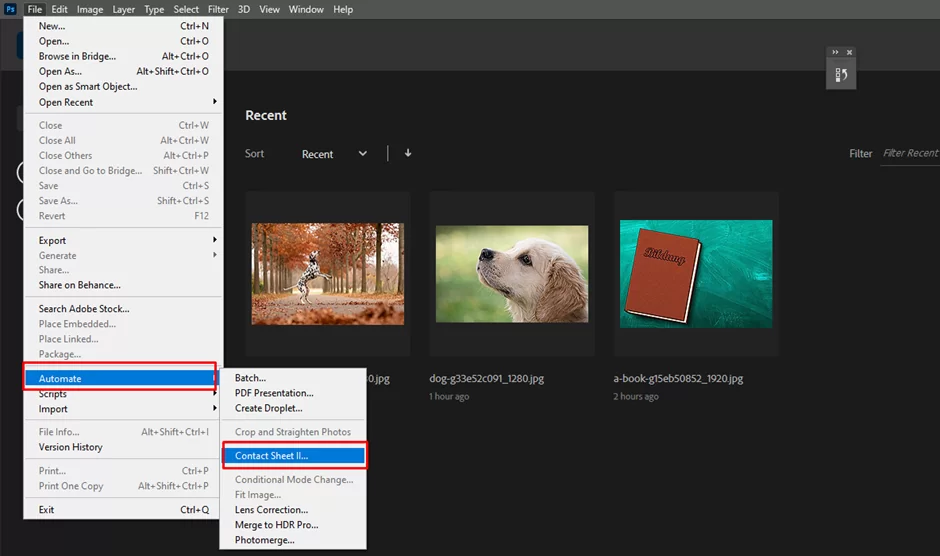
Open Photoshop and select the “File” menu. Then, choose “Automate” and “Contact Sheet II.” This will open the Contact Sheet II dialog box.
In the “Source” section of the dialog box, click the “Browse” button and select the folder that contains the images you want to include in your contact sheet. You can also select individual images by clicking the “Use” drop-down menu and choosing “Folder” or “Files.”

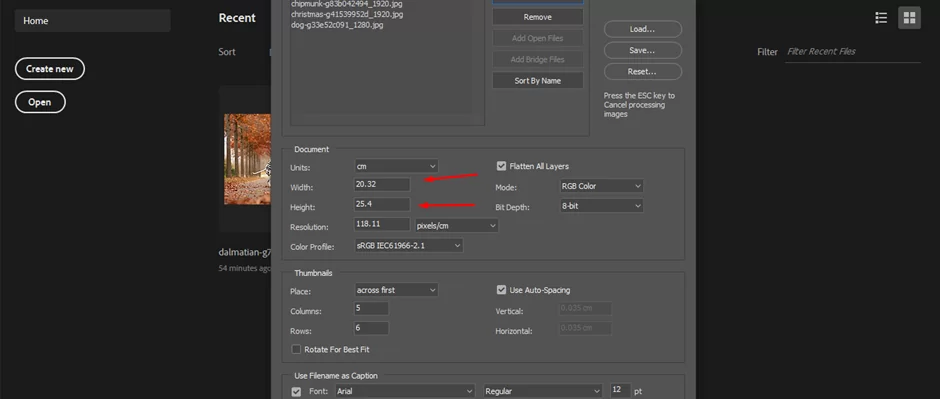
Once you’ve selected the images for your contact sheet, you can adjust the layout and appearance of the contact sheet in the “Document” section of the dialog box. Here, you can choose the number of rows and columns to include in your contact sheet, as well as the size of each image and the amount of space between each image.
In the “Appearance” section of the dialog box, you can customize the appearance of your contact sheet by choosing a background color, font, and font size for the image captions. You can also choose to include the file name and/or the date the image was taken in the captions.

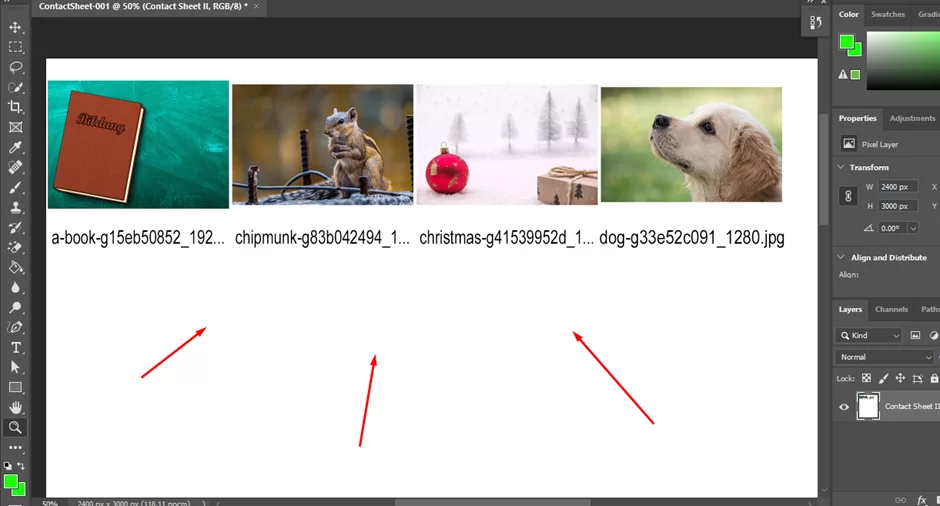
Once you’ve customized the layout and appearance of your contact sheet, click the “OK” button to generate the contact sheet. Photoshop will automatically create a new document with your contact sheet and save it to the location you specified.

To view your contact sheet, open the document in Photoshop and use the Zoom tool to zoom in and out. You can also use the Hand tool to move the document around, making it easy to view all of the images on your contact sheet.
And that’s it! With just a few simple steps, you can create a professional-looking contact sheet in Photoshop to easily view and organize your images.
Benefits Of Making Contact Sheets Using Photoshop
There are several benefits to creating contact sheets using Photoshop, including:
- Quickly view and organize multiple images in one place: With a contact sheet, you can see all of your images at once, making it easy to quickly view and organize them.
- Customize the layout and appearance of your contact sheet: In Photoshop, you can customize the layout and appearance of your contact sheet to suit your needs. This allows you to create a professional-looking contact sheet that is tailored to your specific project.
- Save time and effort: Creating a contact sheet in Photoshop is a quick and easy process, allowing you to save time and effort compared to manually arranging and labeling your images.
- Use as a reference: A contact sheet can also serve as a useful reference when you’re working on a project that involves multiple images. For example, you can use it to quickly find a specific image or to compare different images side by side.
Overall, using Photoshop to create a contact sheet offers a convenient and customizable way to view and organize your images.
How Do You Make A Contact Sheet A PDF In Photoshop?
To save a contact sheet as a PDF in Photoshop, follow these steps:
- Open the contact sheet in Photoshop and make sure it’s an active document.
- Select the “File” menu and choose “Save As.”
- In the Save As dialog box, select “PDF” from the Format drop-down menu.
- Enter a name for the PDF file and choose a location to save it.
- Click the “Save” button to save the contact sheet as a PDF.
Alternatively, you can also use the “Export” feature in Photoshop to save your contact sheet as a PDF. To do this, follow these steps:
- Open the contact sheet in Photoshop and make sure it’s an active document.
- Select the “File” menu and choose “Export.”
- In the Export dialog box, select “PDF” from the Format drop-down menu.
- Enter a name for the PDF file and choose a location to save it.
- Click the “Export” button to save the contact sheet as a PDF.
Either method will allow you to save your contact sheet as a PDF in Photoshop.
Conclusion
Now that you’ve learned how to make a contact sheet in Photoshop, you can easily share all your images with clients, friends, and family. A contact sheet is an easy way to organize your photos into one convenient location and add titles or descriptions of each image. And the best part is – it only takes a few minutes! So take advantage of this simple yet powerful feature and start making contact sheets today!