One skill I highly recommend beginner CSP users learn is coloring inside lines, this will avoid ruining your digital artwork in Clip Studio Paint. As an experienced user of this powerful art software, I’ll show you how to color inside the lines with ease and precision. These simple tips and tricks will help you achieve flawless results every time. So grab your digital pen and let’s get started on creating art that stays within the lines, every time.
How to Color Inside Lines in CSP
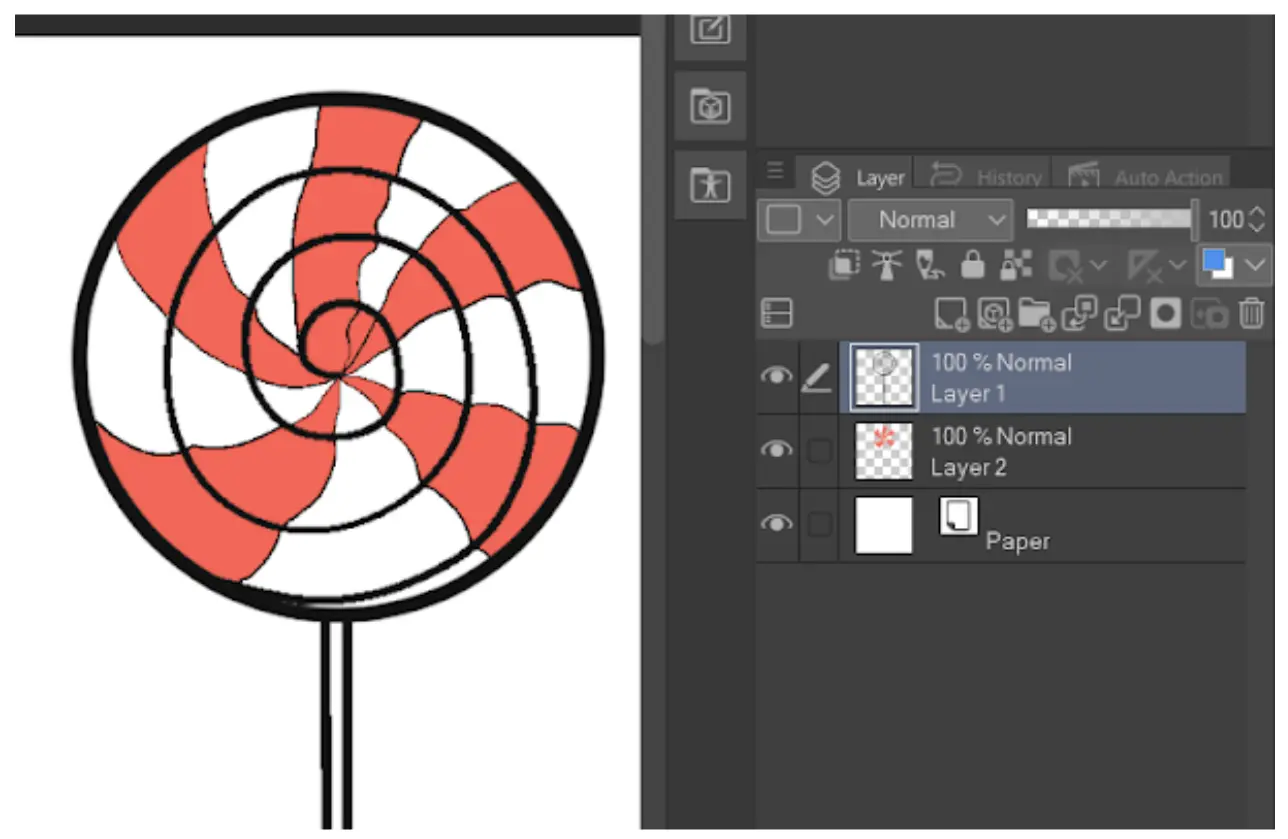
Select the layer of the line.
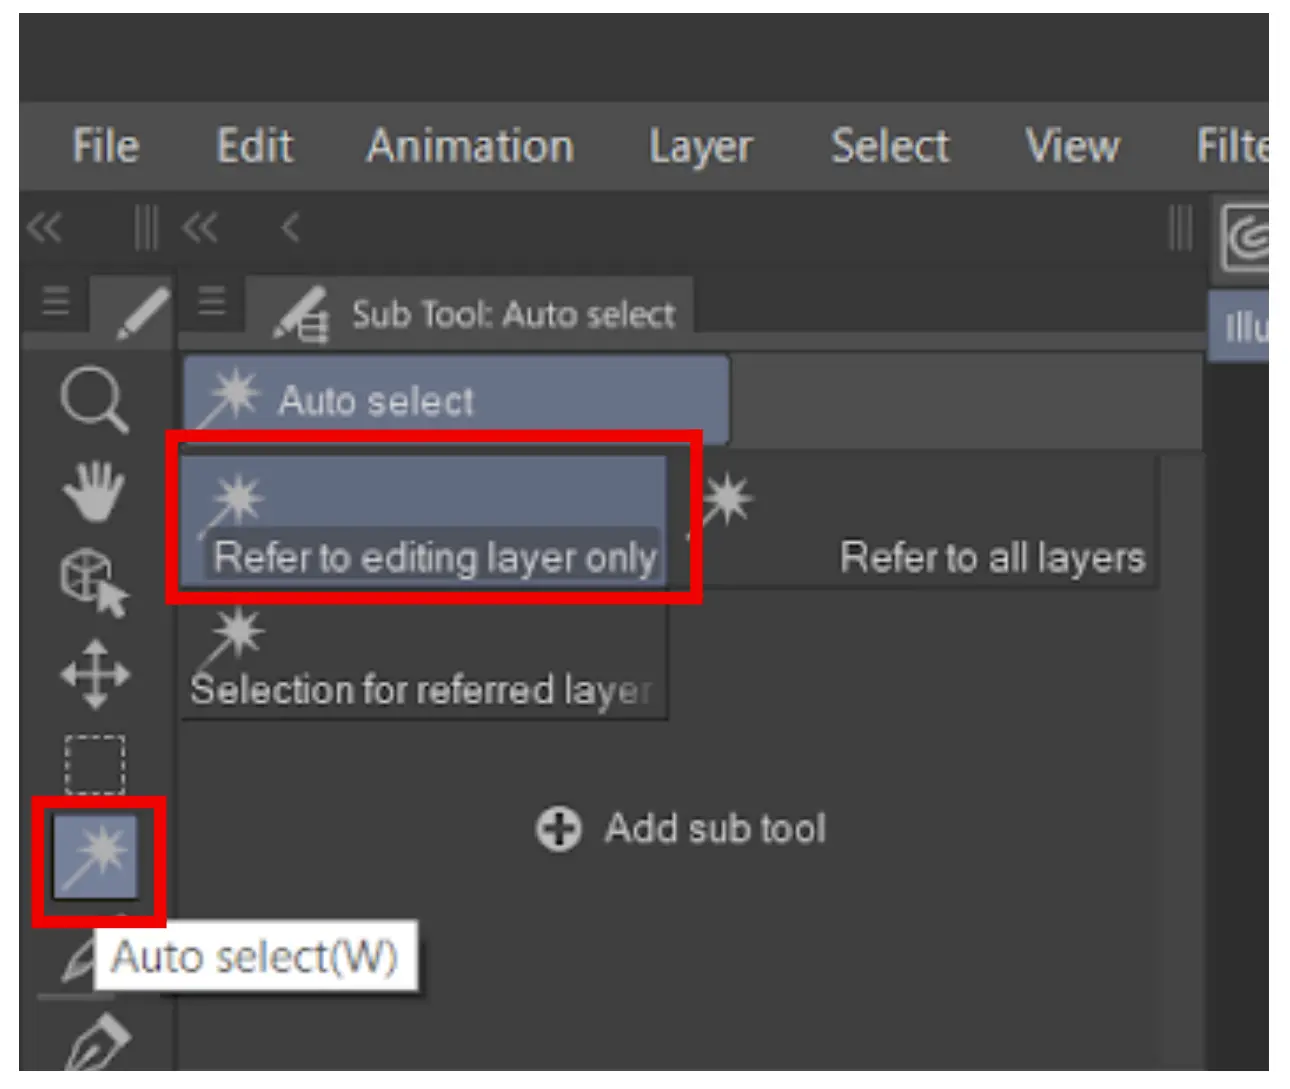
On the toolbar, select the “auto-select” tool. Make sure it is set to “Refer to editing layer only.”
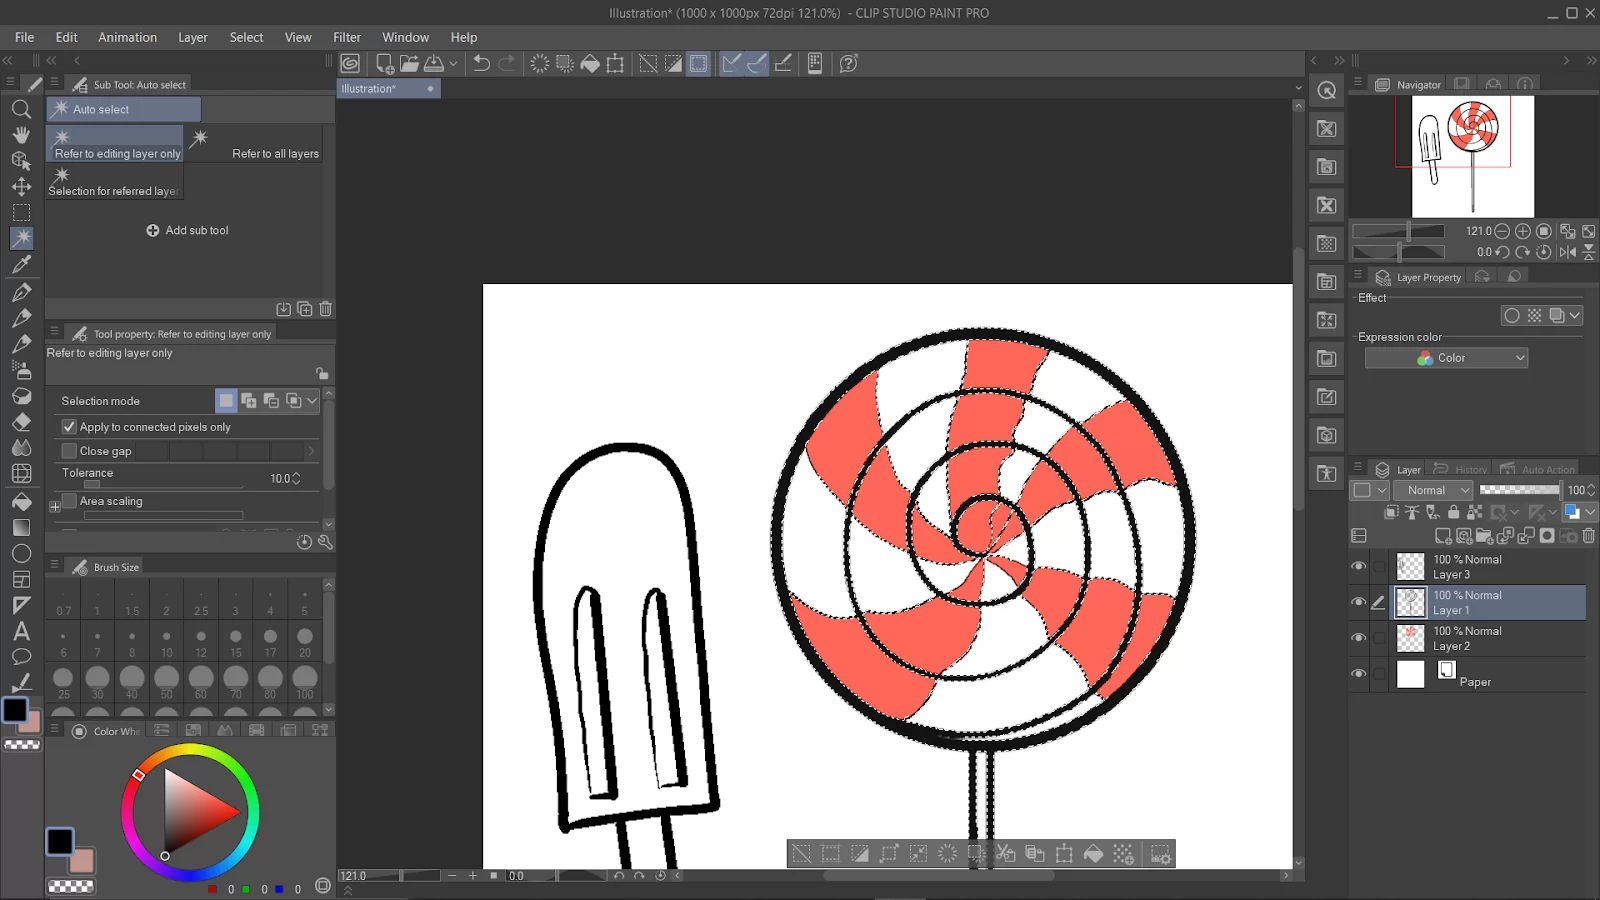
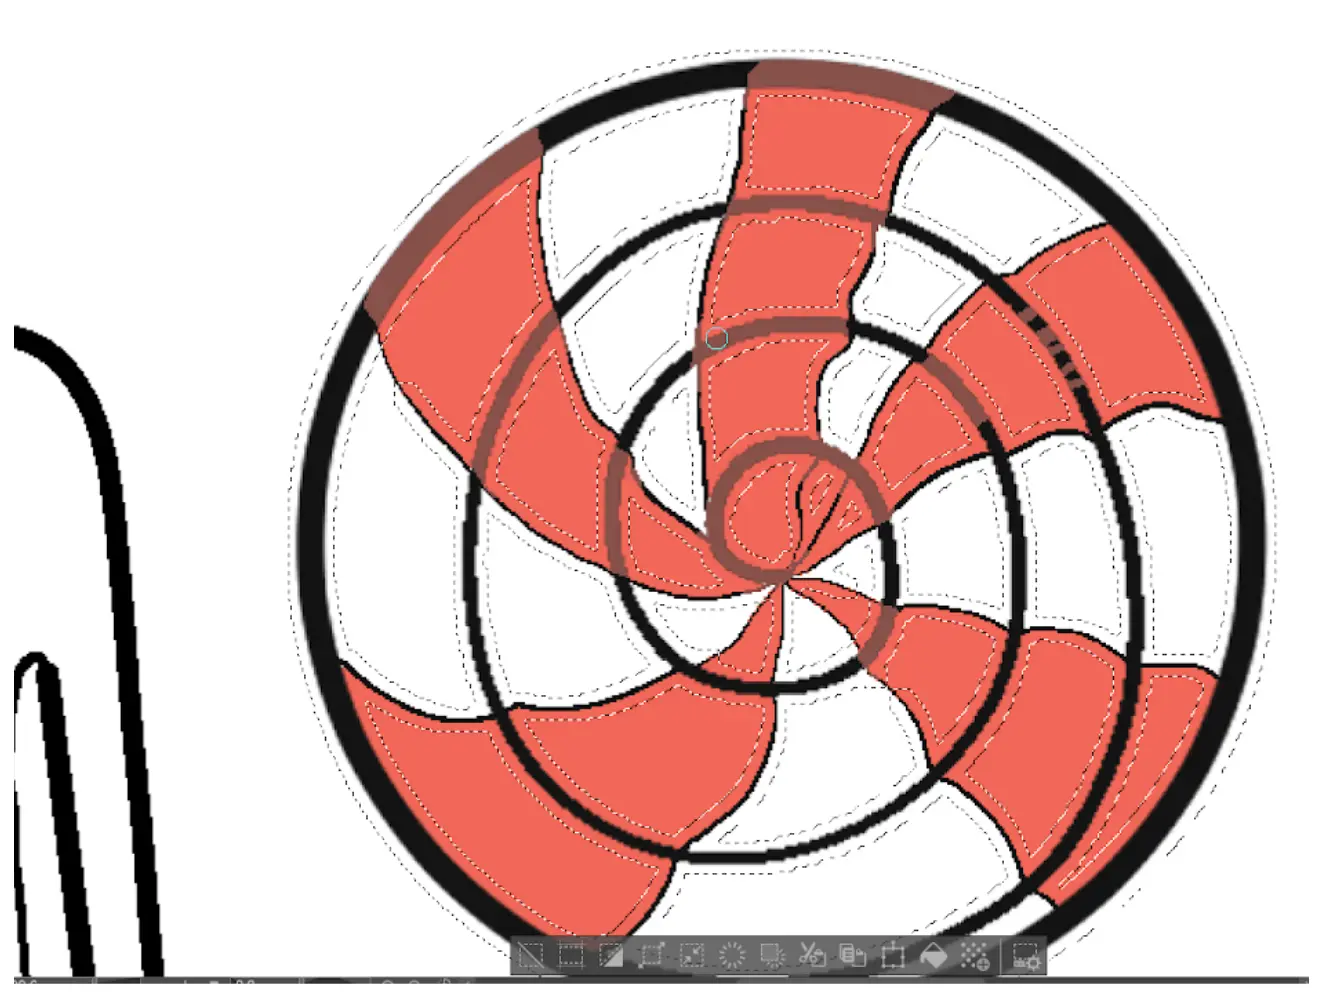
Click on the line. You will see dashed lines appearing around the lines.
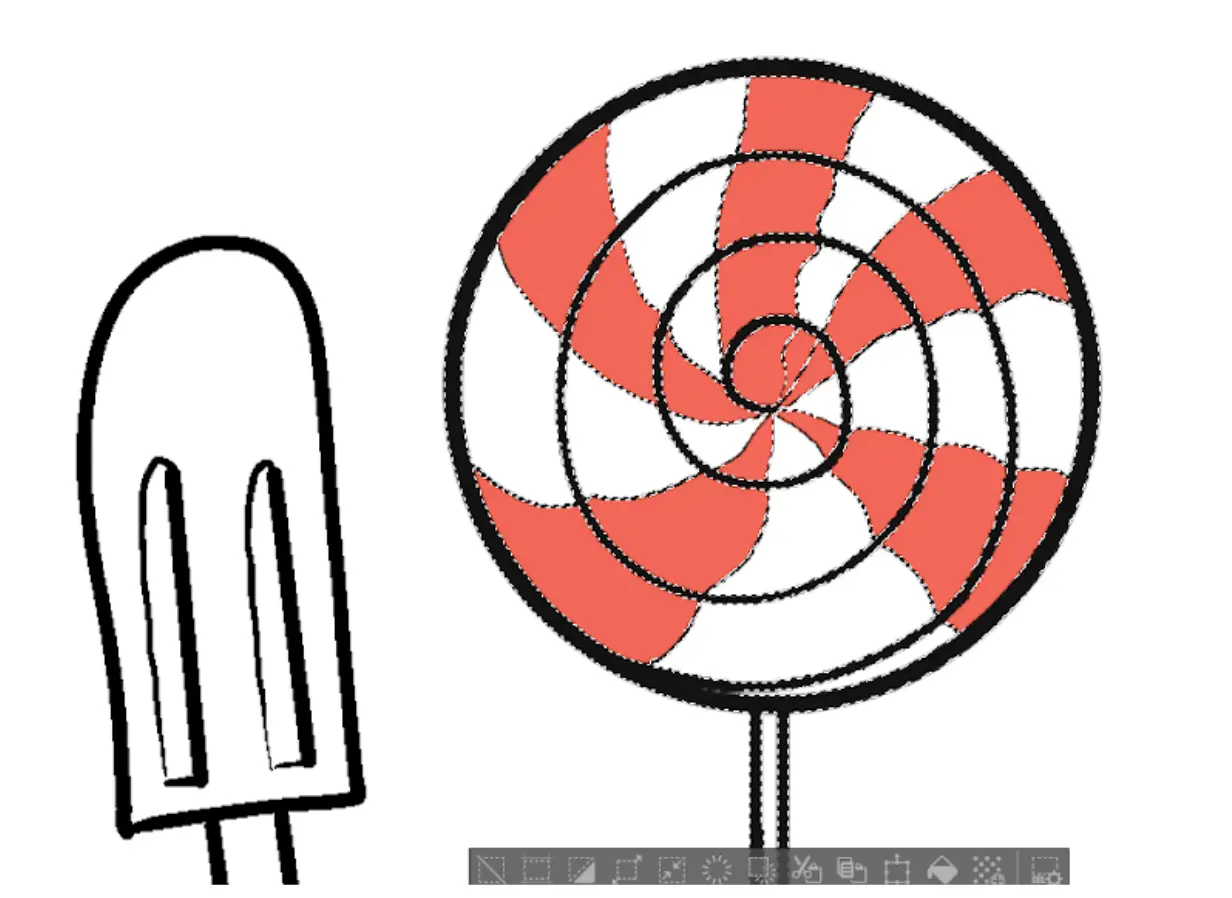
Up close view
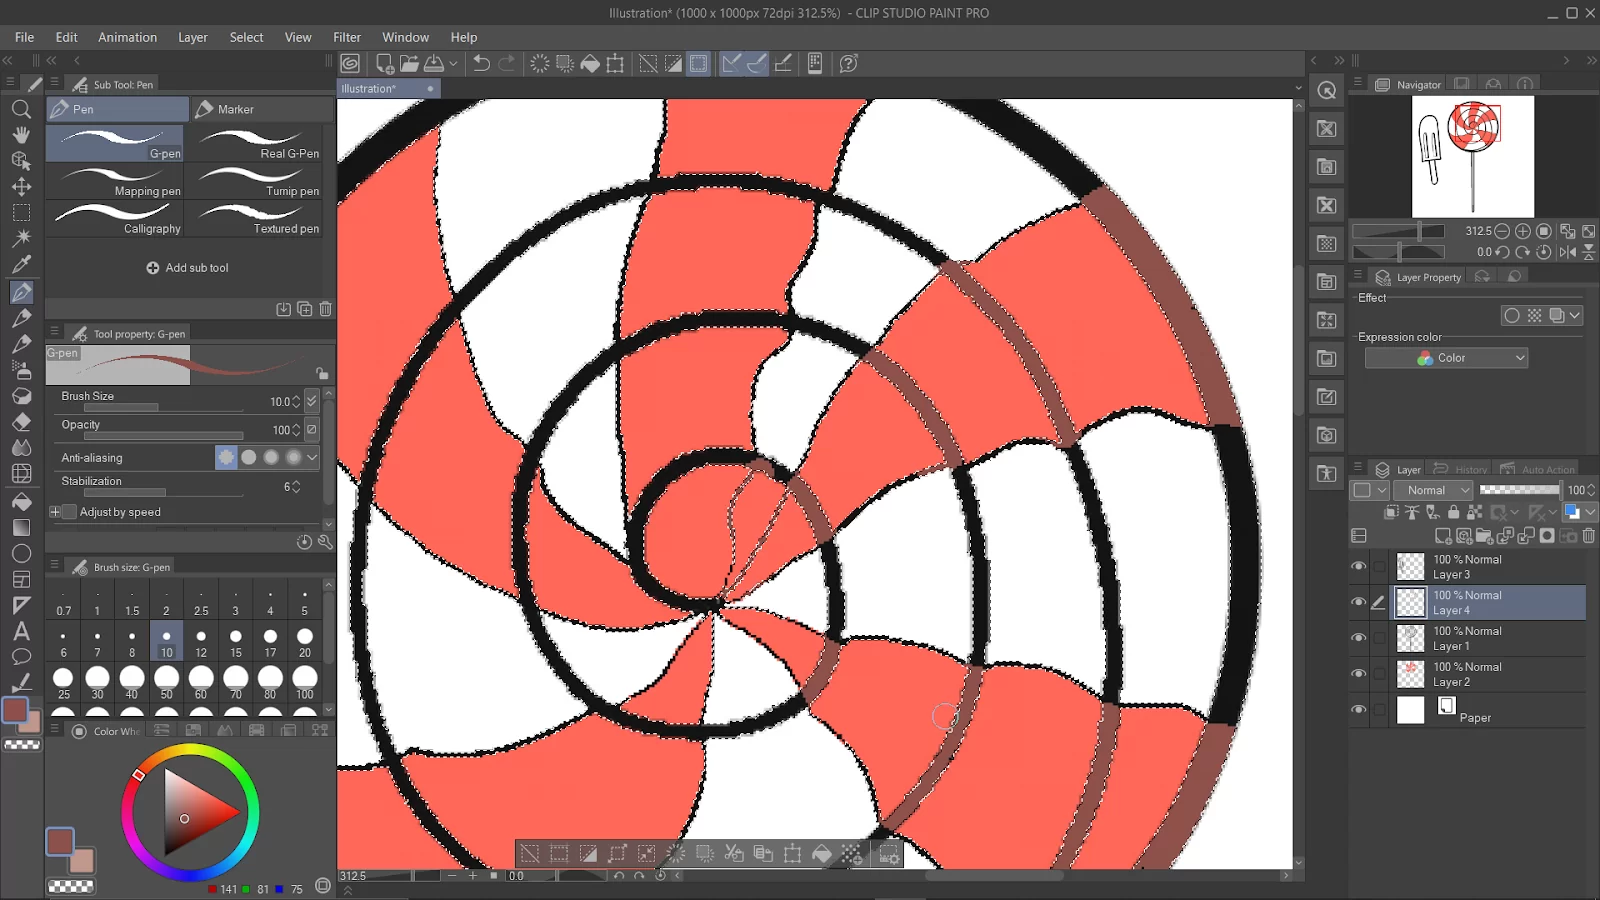
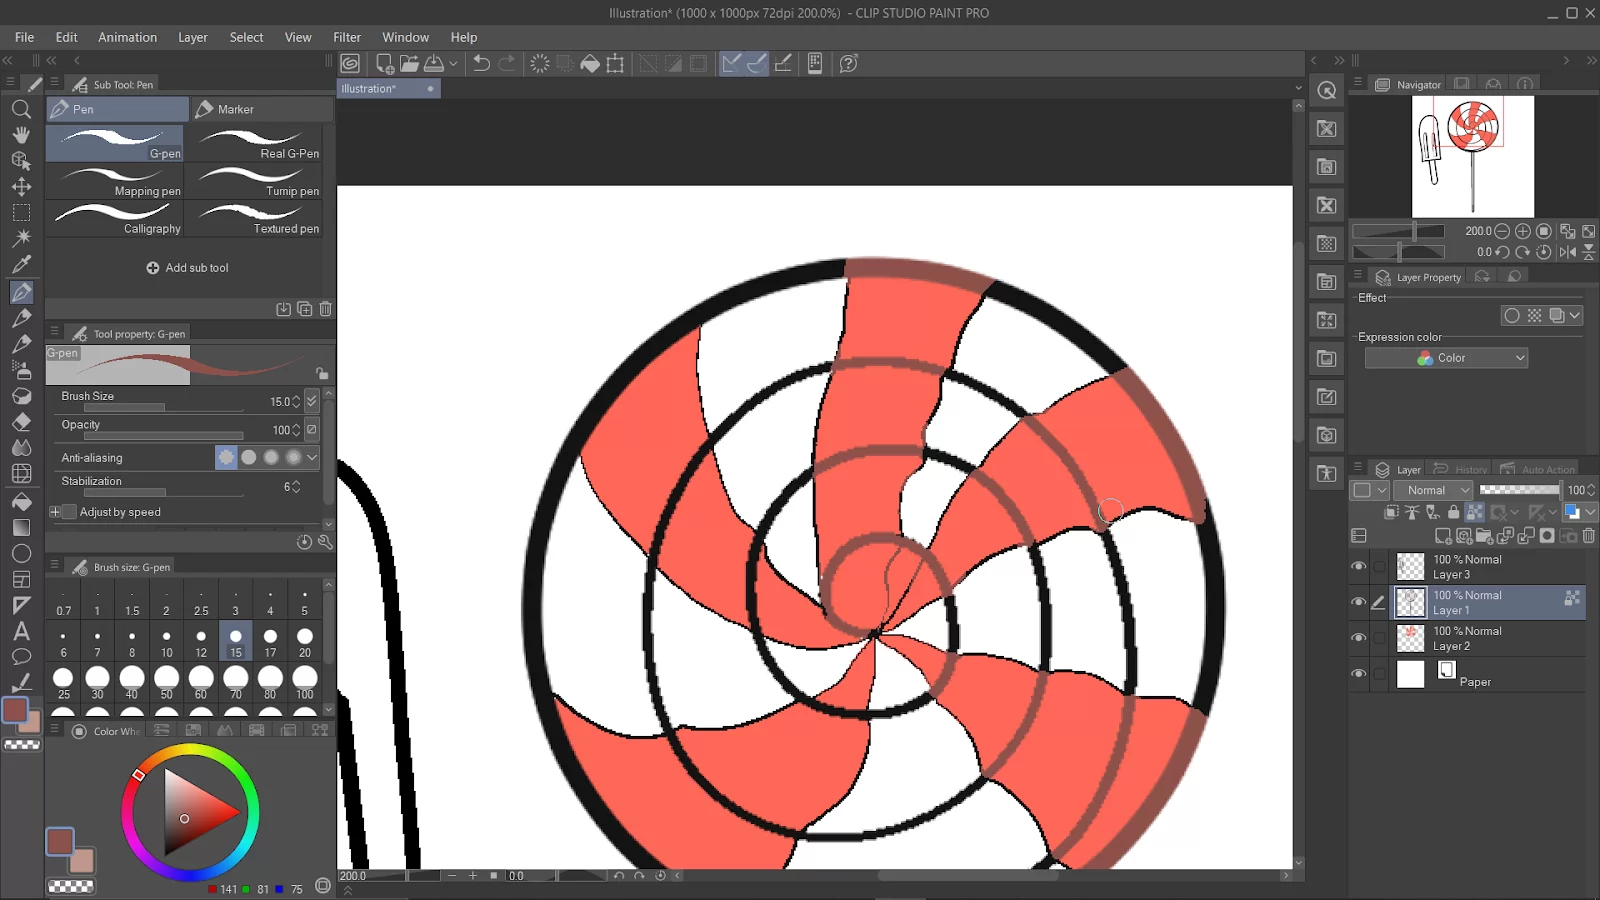
Select any tool to color in the lines (for example, a pen).

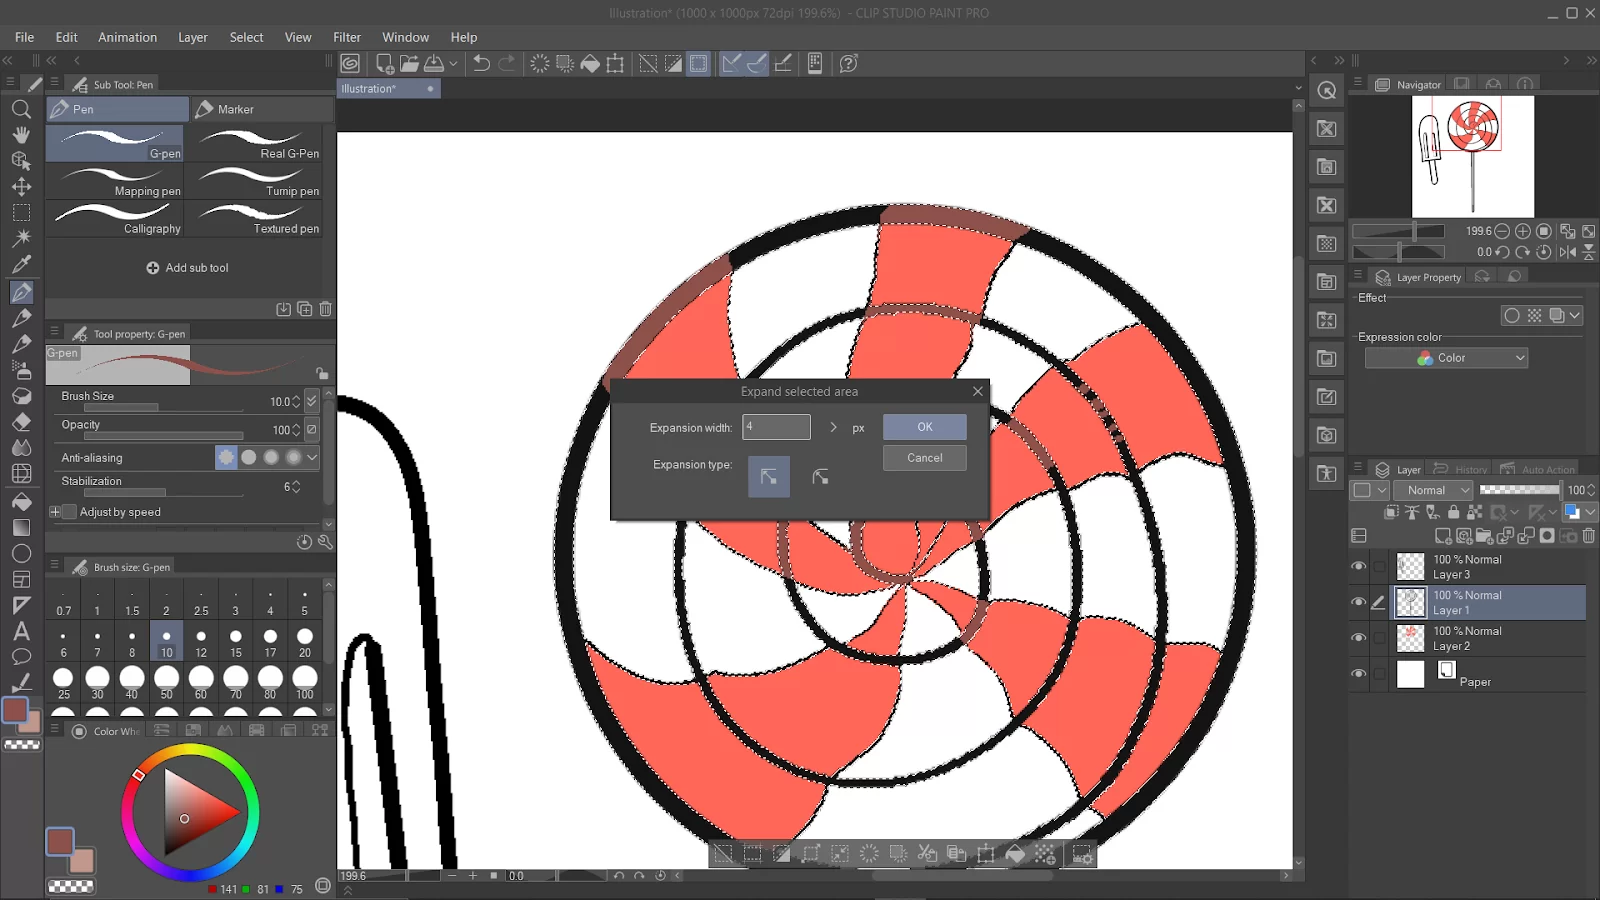
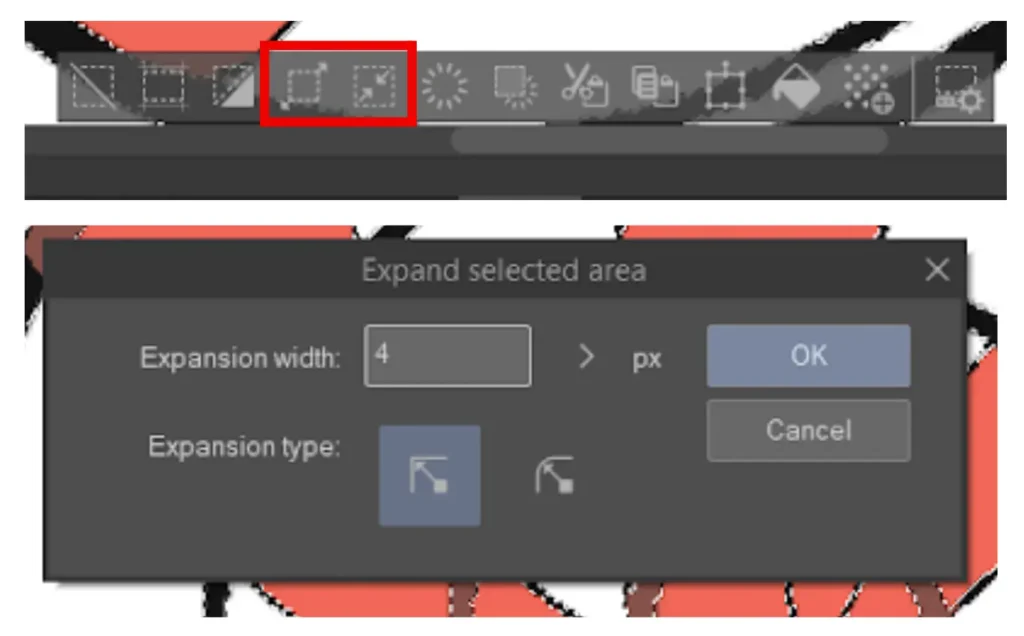
Tips: you can expand or shrink the thickness of the selected line by clicking on the icons below. Adjust the thickness by pixels.
Tip 2: if you want to separate the color from the line, create a new layer after step 3, and color on that new layer.
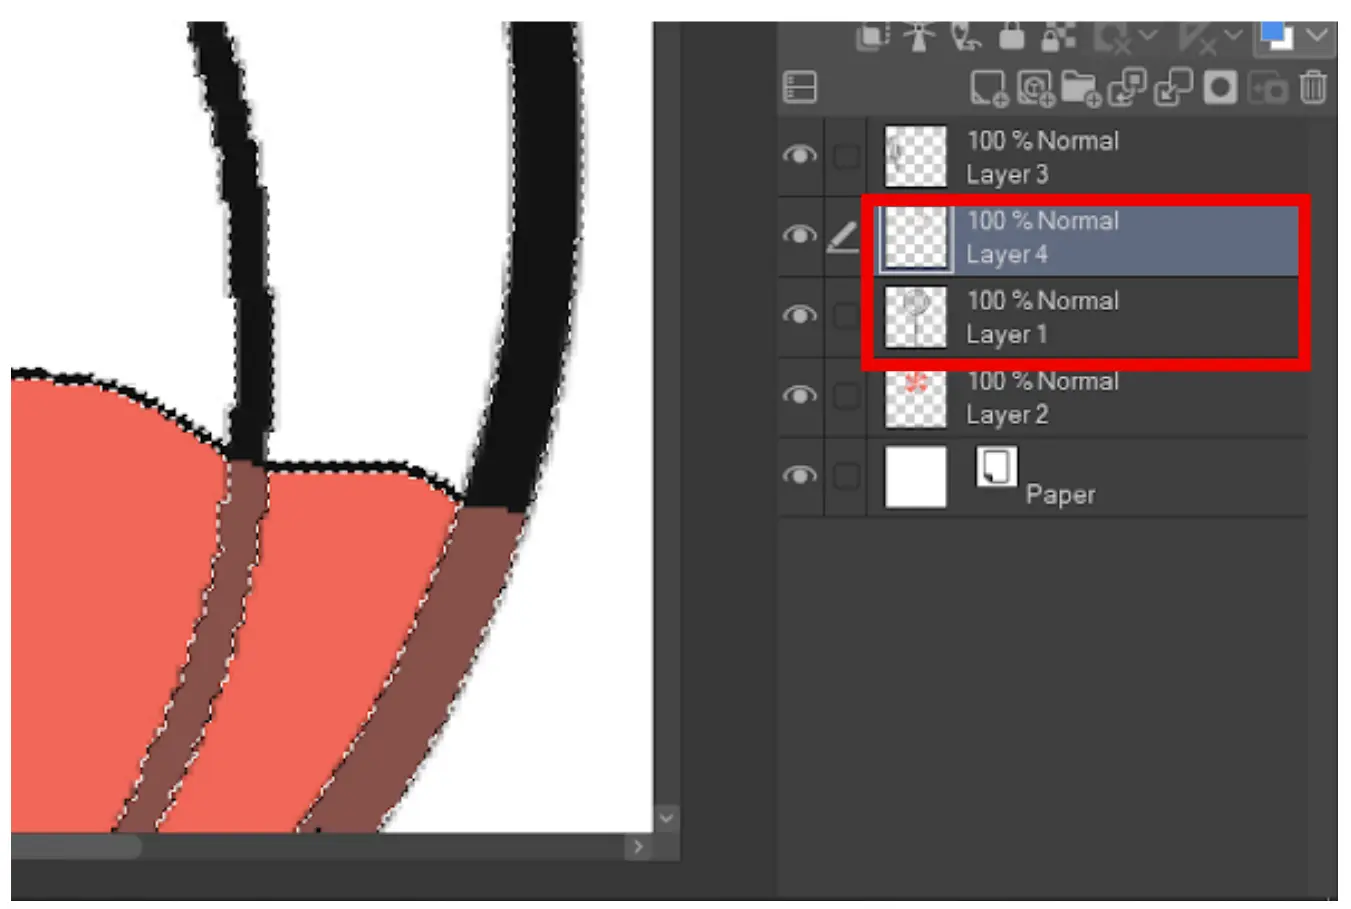
Alternatively, you can also use the “lock transparent pixels” method to color only the line.

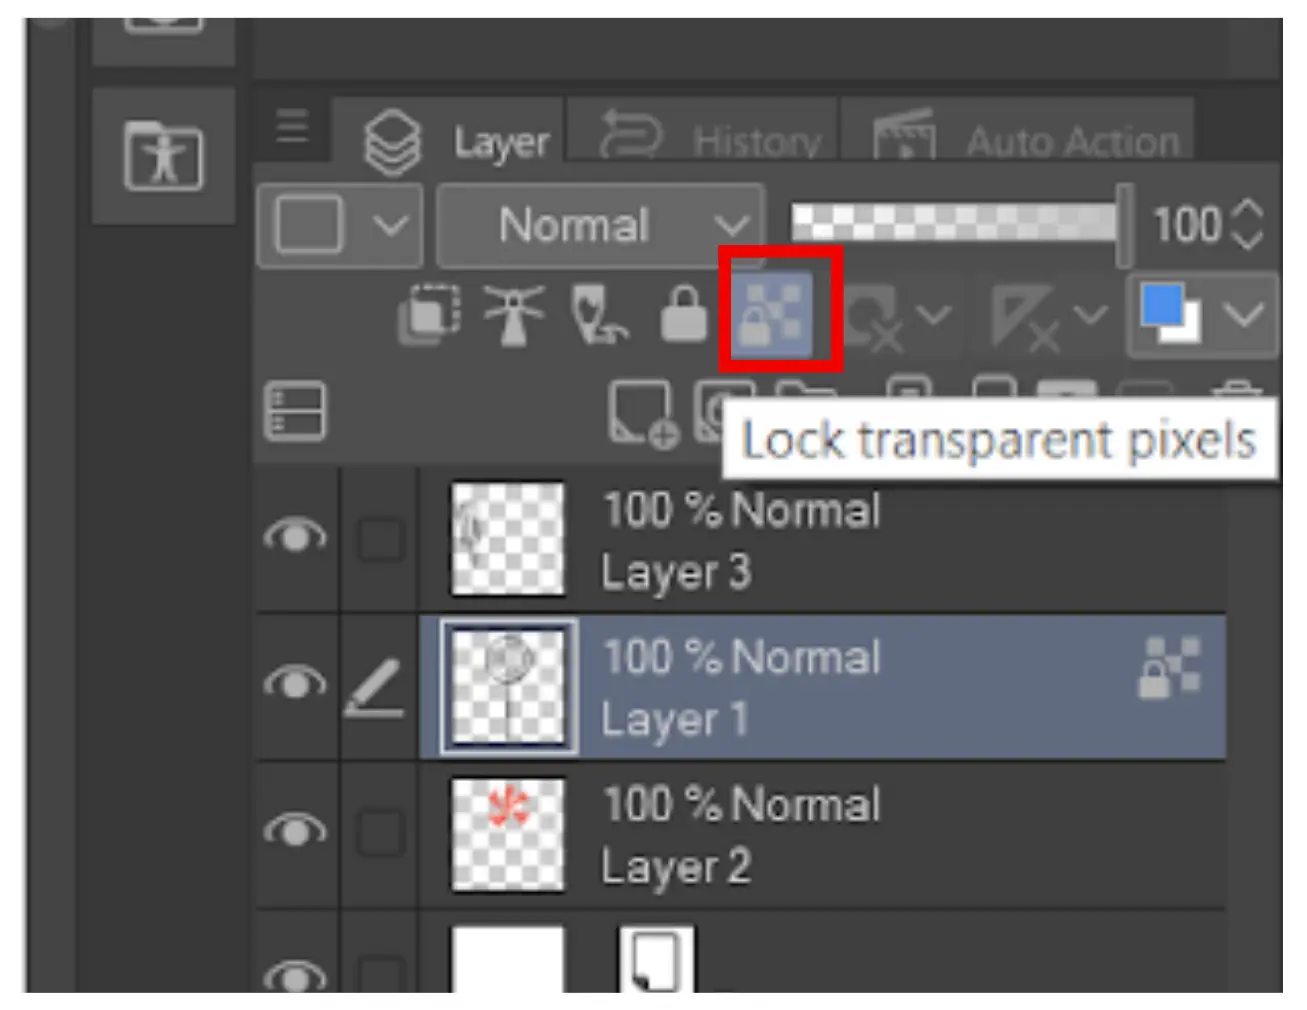
Again with step 4, color the line.
We also recommend that you see our information-packed guide on how to shade in Clip Studio Paint.
Coloring Inside The Lines By Adjusting the Lineart Layer
By using this method, every lineart on a single layer will instantly switch to the new color of your choice. It is important to note that this method won’t work if you were hoping to accomplish anything with greater subtlety, more variations of a single color, etc. This is the method to use if you want to modify all of the line art on the layer from jet black to a milder gray or possibly something like a non-reproducible blue.
The first step is to choose the layer with all the lineart on it and then use the Tool named Change Layer Color. The Tool looks like two overlapping squares. The squares have an up-and-down chevron next to them. The Tool can be found just above the layer list.
The lineart color will change to the cool you see on the tool selector if you click on the squares. However, if you want a different color, click on one of those chevrons and select the Layer Color option.
Choosing the Layer Color option will cause a color selector to come up. The color selector is where you can decide which color you want to change the lineart into. The color selector has all the tools you need to get the right color. The color selector has a color square, saved palettes, Jez numbers, etc. Pick a color and click the “OK” button, and your lineart will magically change. Now you can make your lineart look like it was drawn using a pencil.
You can also check out our in-depth guide on changing hue in Clip Studio Paint.
Maximising the Fill Tool
One of the most helpful Clip Studio Paint tools is the fill tool. It is a terrific technique to fill in your basic colors quickly and effortlessly and hasten the coloring process. From the palette, select the color you wish to use, then click or drag it onto the space you want to fill. The fill tool will immediately apply the color to the chosen region.