Coloring is an integral part of the digital art creation process, and with Clip Studio Paint, you can achieve breathtaking results with ease. With years of experience using this software, I have honed my coloring skills and learned various techniques to produce vibrant and lifelike artworks.
In this guide, I will share my knowledge and help you master the art of coloring in Clip Studio Paint. Whether you are a beginner or an experienced artist, this guide will provide you with the tools and tips to enhance your coloring skills and bring your art to life. So, let’s get started and learn how to color in Clip Studio Paint.
How to Color in Clip Studio Paint
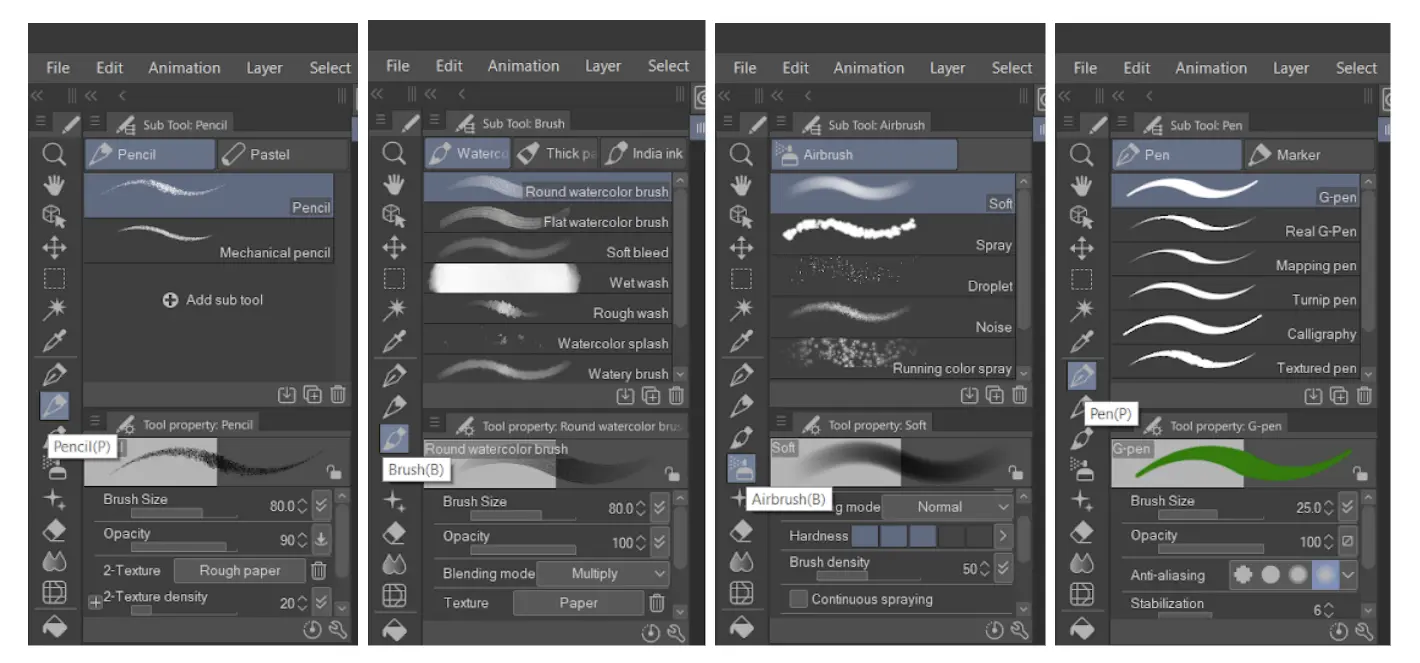
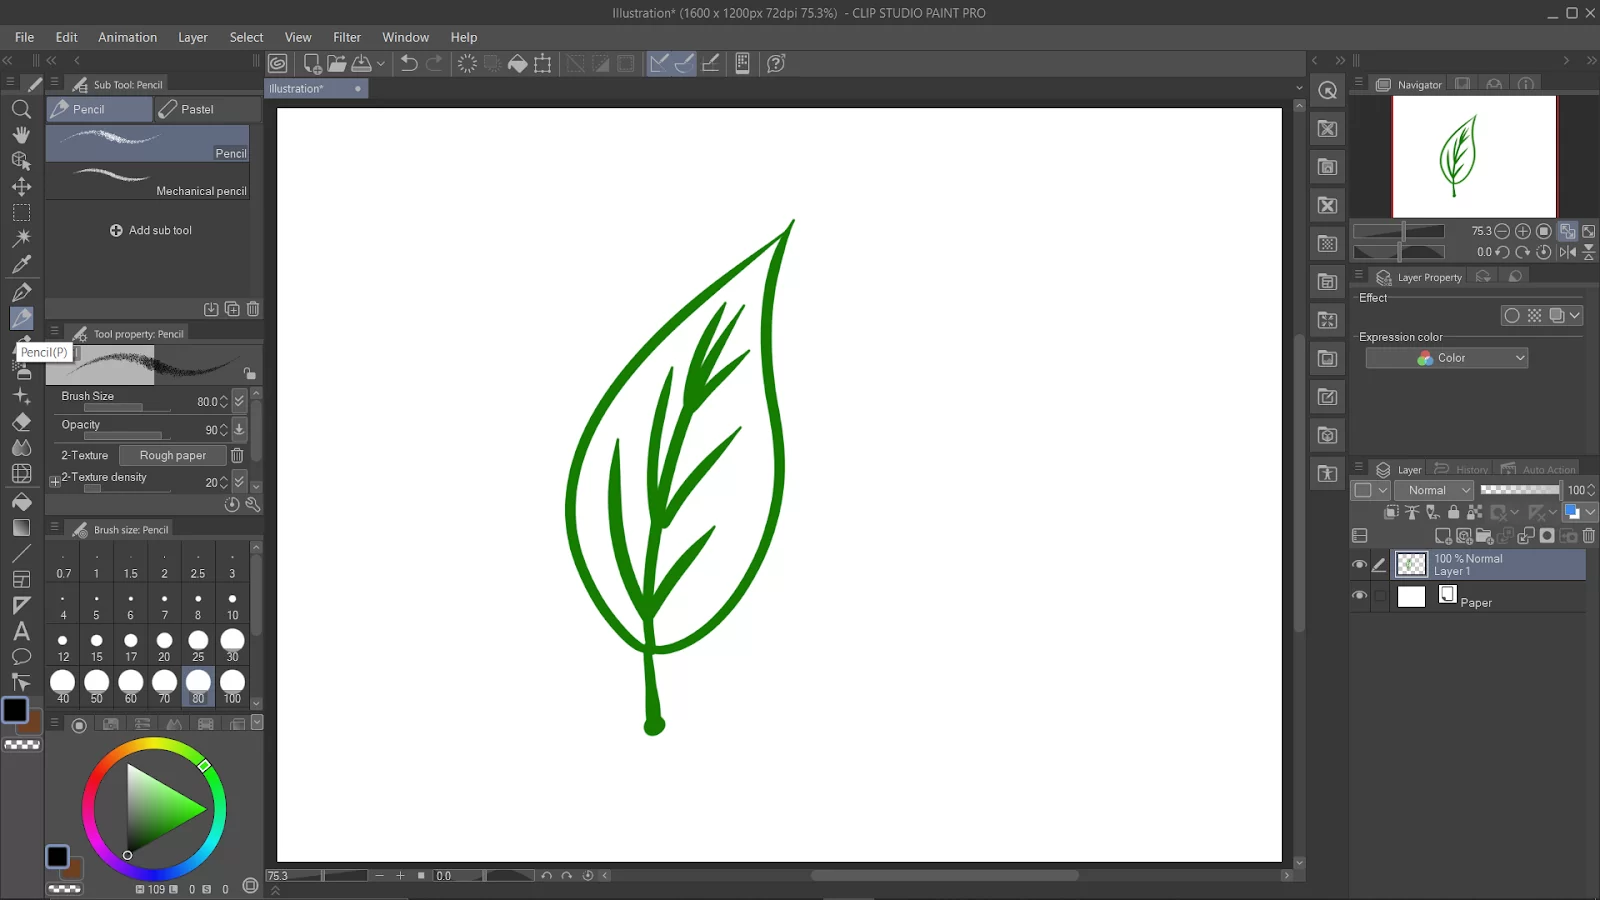
Select a tool: To begin coloring, you’ll need to select a coloring tool. The most commonly used tools for coloring in Clip Studio Paint Pro are the “Pencil,” “Brush,” and “Airbrush” tools, which can be found in the tool palette on the left side of the screen.

You can also use the “Graphic Pen,” “Watercolor,” and “Marker Pen” to give different textures and looks to the color.


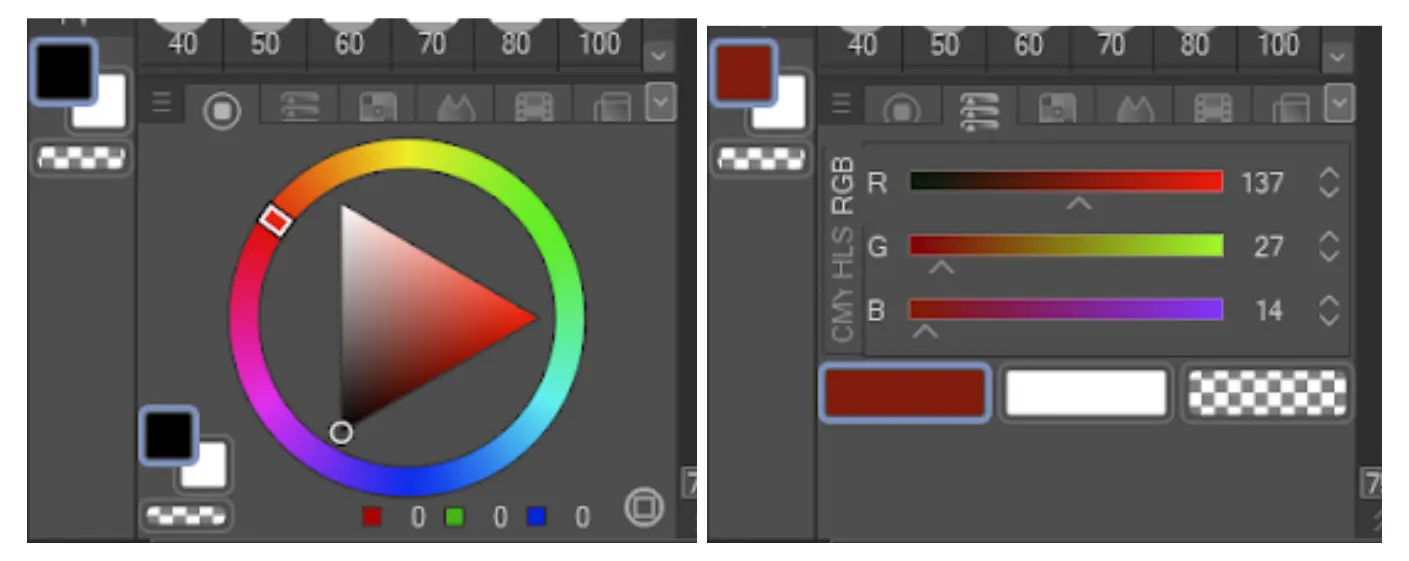
Choose a color: Before you begin coloring, you’ll need to choose a color. You can do this by selecting the “Color” tool from the tool palette, choosing a color from the color wheel, or inputting specific RGB or HEX values. You can also select a color from the “Swatches” Palette and the Mixer Palette to create new and custom colors.
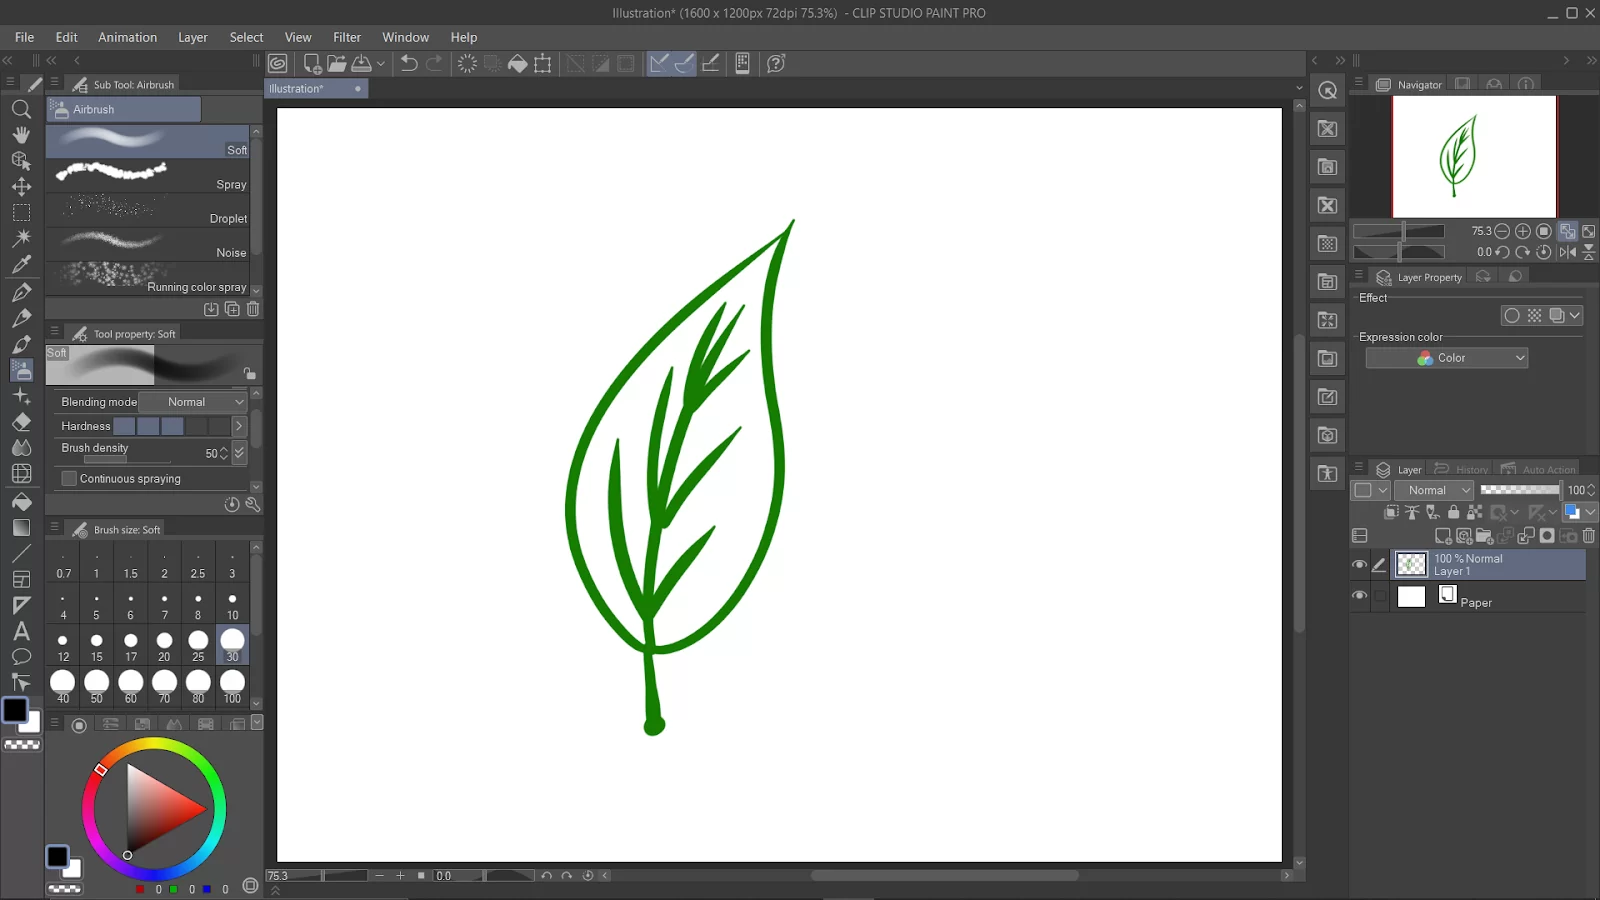

Apply color to your drawing: Once you’ve selected a coloring tool and chosen a color, you can begin applying color to your drawing. You can use the coloring tool to brush color onto your drawing or the “Fill” tool to fill an area with a solid color. Additionally, the “Bucket fill” tool is also available for a one-click fill of a certain area.

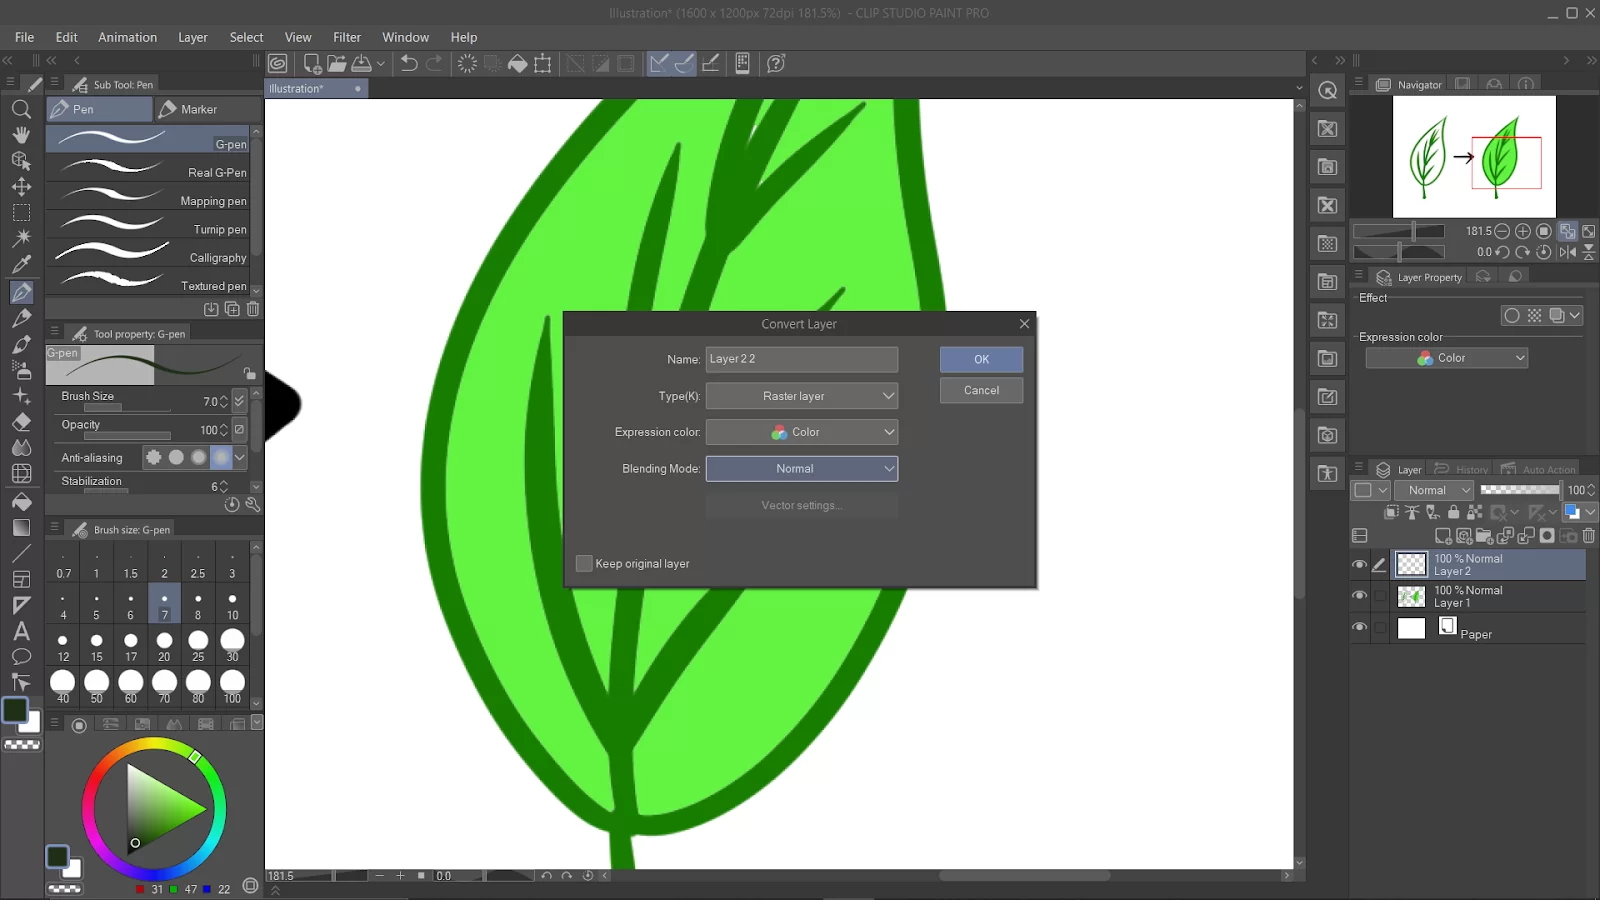
Adjust the layer and use blending modes: The coloring process involves different layers and modes. You can create a new layer, color it, and then change the layer’s blending mode to blend it with the layer below and give more depth to your drawing.
Add additional details: Once you’ve applied color to your drawing, you can add additional details using different coloring tools, such as highlights and shadows to give more dimension to your drawing.
How To Color Skin in Clip Studio Paint
You should start by creating a new layer for coloring the skin and then fill the drawn areas with the basic skin color.
Step 1
Start by clicking New Raster Layer on the Layer palette. Next, you have to double-click the layer name of the layer that you’ve created. Change the layer name to Skin
Step 2
Now you need to Select the Fill tool from the Tool palette. Next, select Refer other layers from the Sub tool palette. You need to check that Multiple referring is turned on using the Tool Property palette.
Step 3
Next, select peach for the skin color using the Color Wheel palette. Now click to fill the areas of exposed skin.
Step 4
Now use the Pen tool to color small unfilled areas. Also, utilize the Pen tool to color areas that are not filled. By now, the entire skin area should now be filled with the main color.
You can also check out our in-depth guide on how to draw lineart in Clip Studio Paint.
Changing Color By Using The Selection Tool
This method I’m about to show you starts by creating a new layer. If you can get your desired object onto a new layer, you can change the color of that layer without the color affecting your art.
Step 1
It is important to ensure that the layer you want to change its color is selected in the Layers panel.
Step 2
You can find the selection tool in your tools panel. You can easily identify it by looking for a square icon. However, if you’ve used your selection tool recently, the icon will look like the selection setting you’ve most recently used.
Step 3
At this point, you need to choose your object. The object will determine the selection settings you’ll use. You can use the square or ellipse options to choose your object rapidly.
Alternatively, if your objects are touching, you might need to manually outline and choose your object using the lasso tool.
Step 4
When you have selected your object, you should cut and paste it into a new layer. When you have made your selection, a list of options will appear. You can find the cut-and-paste button if you look for scissors and a clipboard icon.
Your selection should now be cut and pasted onto a new layer. If you disable the visibility of your other layers, you can view it. Keep track of these layers in case you suddenly lose the ability to draw on them, choose the incorrect one, or become confused about where your items are.
Step 5
Your object is now on a new layer, so you can use the color-changing technique above. Please ensure that your layer is chosen before picking a color. After that, select Convert to drawing from the Edit menu. Only the selected object will change color because you copied and pasted it onto a new layer.
We also recommend our informative guides concerning shadling and transferring Clip Studio Paint from one computer to another.