If you’re a digital artist, you know the importance of having powerful and versatile software at your disposal. Clip Studio Paint is one such tool that offers a wide range of features and benefits to help you bring your digital art to life. Clip Studio Paint is designed to help you create stunning illustrations, comics, and animations.
In this guide, we’ll walk you through the essential steps required to use Clip Studio Paint. With this tool in your artistic arsenal, you can take your digital art to the next level and create works that capture the eye and the imagination. So, let’s dive in and learn how to use Clip Studio Paint.
Clip Studio Paint Tutorial for Beginners
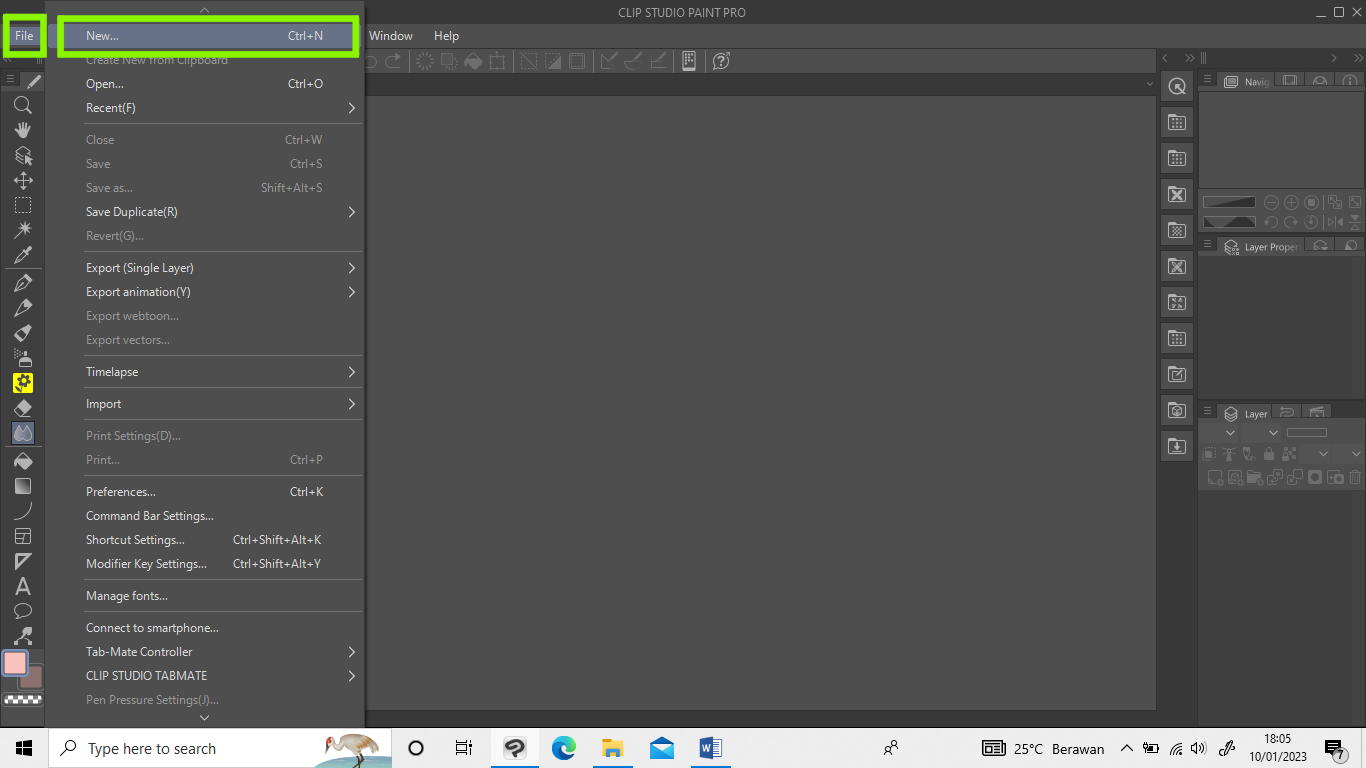
- First, let’s create a canvas. You can click [File] on the menu bar → click [New]. You can use the keyboard shortcut [Ctrl + N]
- Select [Use of artwork] will you make for. You can choose illustration or webtoon or comic, or animation. For example, I [use of artwork] illustration. For example, I [use of artwork] illustration. Don’t forget to fill in the width, height, and resolution.

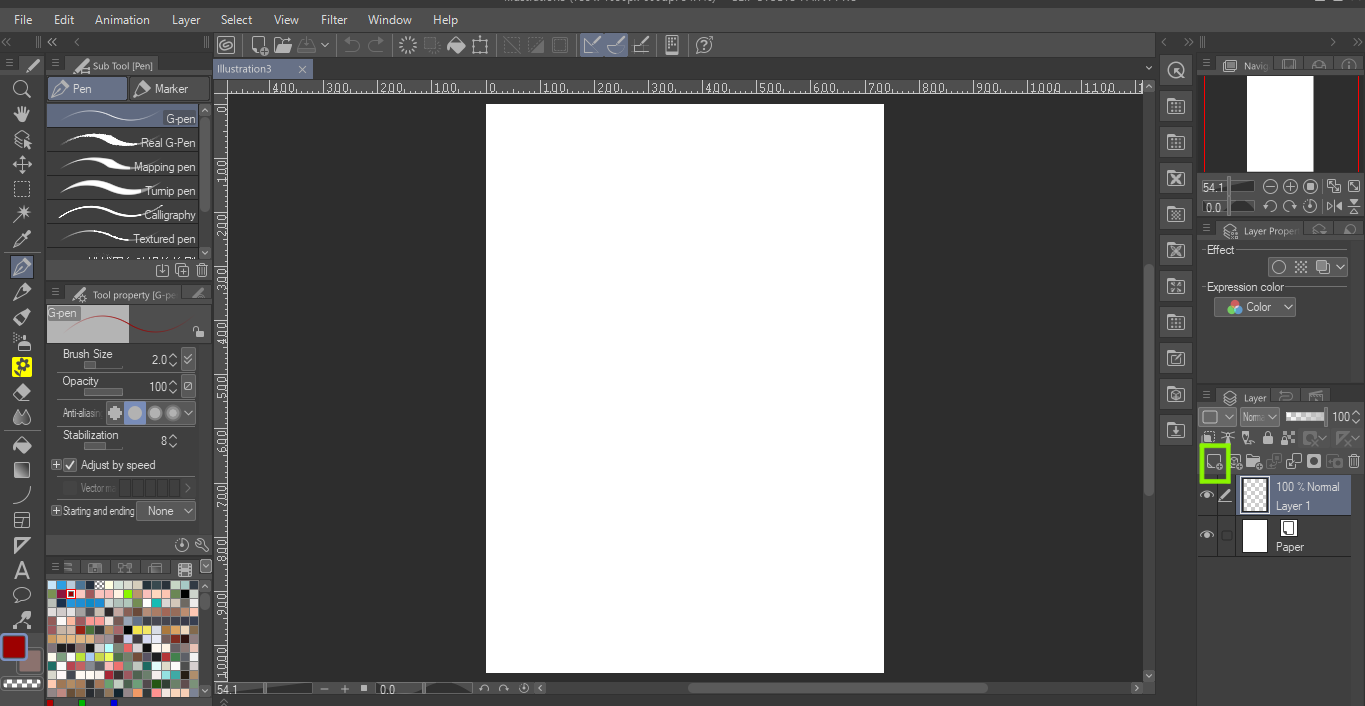
- In the new canvas, there are two layers created by default. To make a new layer, you can click [new raster layer]
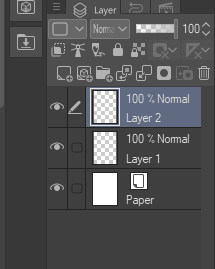
- You can change the layer name to make different parts of your artwork. Maybe one layer for sketch, and the other for line, base color, shading, etc.


- For making a sketch, you can use [pencil] tool and select the type of pencil that you want.

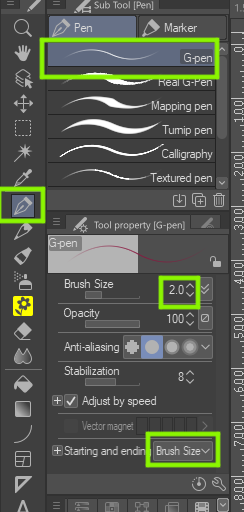
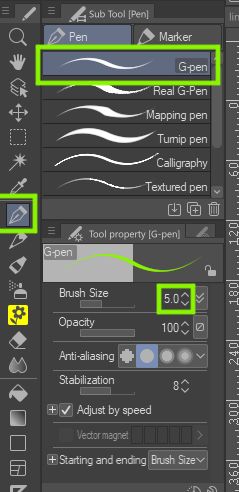
- After the sketch, you can do line art. For example, I use posters of Korean drama as a reference. I combine two tools for line art. First, I use [figure] tool → [curve]. brush size: 2, starting and ending: brush size. Second, I use the [pen] tool → [G-pen], brush size: 2, starting and ending: brush size.


- For the base color, you can create a new layer. I combine the [pen] tool (brush size: 5) and [fill] tool. For selecting the color on [color pallete], you can double-click for [setting color].


- You can click the layer on the layers panel if you want to change the color. Click [layer color] on the [layer property] and click the color display for the [color settings] panel. In the example, I want to change the color of the line.


- You can add shading and lighting. Create [new layer] on the base color layer. Click [clip to the layer below]. This tool allows you to draw without worrying about the color going off the line.


- And the illustration is done!


- You can save your work! Click [File] menu → click [save] or use the keyboard shortcut [ctrl + s].

- Title your artwork on [file name], and choose a save location and type of file. And last, click [save].

Maximising The Pencil Tool in Clip Studio Paint
You can draw with different tones and strokes using the Pencil tool, just like you would with a pencil. The Sub Tool is a set of predefined settings with the Pencil Tool. By pressing the buttons on the Sub tool palette, you can change the sub tool. Using the Tool Property palette, you can also set specific parameters for the chosen sub-tool.
Tips For Using Clip Studio Paint
Now that you know what a pencil tool is in Clip Studio Paint, how about I give you some tips that you can use in Clip Studio Paint?
- Coloring an Artwork Using The Colorize
You’ll thank me for this because it is one of the essential tips for using Clip Studio.
If you want to apply to colorize in your Clip Studio, you need to begin by drawing a line art of your Sketch on a layer. The layer can also be used as a reference. Go ahead and create a new layer before the first layer when the line art of your drawing is done.
The new layer will be used to add colors to a drawing. That is why it is known as the color layer. If you want to use the colorize tool, go to edit and click Colorize. Then, select the To Use Hint Image and Colorize option.
It is important to note that while this tool will add colors, you still need to fix the Colorize result using light and dark colors. The light and dark colors will stabilize colors or add new layers.
- Inking in Clip Studio Paint
Do you encounter difficulties when inking digitally? I can understand. I found inking and line art difficult when I started using creative tools. Inking is the procedure used to apply a final line over the initial sketch.
However, after you learn how to draw in Clip Studio Paint, you’ll be able to produce your drawing and give it motion and life. Also, you can ink your artwork using any of the numerous inking tools that are available in Clip Studio Paint.
If you want to ink your artwork well, then it is important to choose the right tool. However, the question is “how can we know the suitable tool for drawing?” The answer depends on key factors that must be considered while inking digital artwork.
For instance, you should decide whether you want thin or thick lines in your drawing. However, If you want thick lines, then you also need to answer the question of how much thickness you want.
You also need to know whether you want all lines to have the same level of thickness or not. You must also consider if you want bold or soft lines. If you can answer all these questions, then you can go ahead and start inking.